Support Portal Guide
© 2026 Sonrai Security. All rights reserved.
Overview
Welcome to Sonrai Security Support!
This guide will help you get started using the support portal to request addition of new users, help you raise new feature requests, open tickets to investigate issues, etc.
Our support team strives to maintain the best possible experience that we can provide to our users. We truly believe that a positive customer experience is the heart of a mutually beneficial relationship between your organization and ours.
To facilitate this experience, our goal is to be available to our users in the environments they use day to day, across any time zones.
How to Contact Us
(1) - Ticket Portal
Sonrai's ticket support portal is the best and most reliable way of engaging with our team.
When you open a new ticket, our team triages together to ensure that all of our subject matter experts see your question, enabling us to provide you with the optimal response as quickly as possible.
(2) - Email
Users who have been configured with service desk/portal access, can also open tickets by email.
*Email messages from users who have not been granted service desk / portal access are automatically ignored.
Managing Your Organization's Support Portal
Adding User(s)
I'm an existing user - how can I add other users to our Sonrai support ticket portal?
- Log in to the support ticket portal
- Create a new support request, providing the email address(es) for user(s) you'd like to be added
We don't have any existing users with access to the Sonrai support ticket portal (or any existing users available to make a request on my behalf right now) - what do I do?
You can either:
- Email your Sales Engineer requesting user access to the portal
- Email our
support@sonraisecurity.comaddress requesting user access to the portal
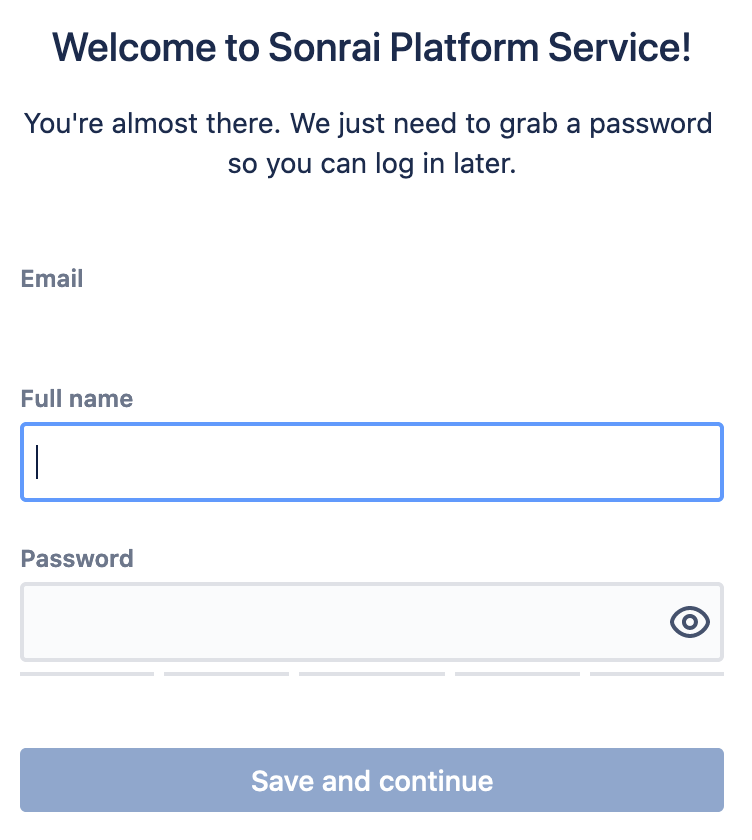
Sonrai's Customer Success team will take it from there to add the new user(s) to the ticket portal.
After Sonrai adds the new user(s), the user will receive an email providing instructions on how to proceed and the link in the email will direct them user to a page to fill out more details and set a password.
After completing this stage the user will then be able to authenticate into the Sonrai support ticket portal.
Logging In
To access the support portal:
- Click on the "Ticket Portal" link within the right-hand of the top menu bar
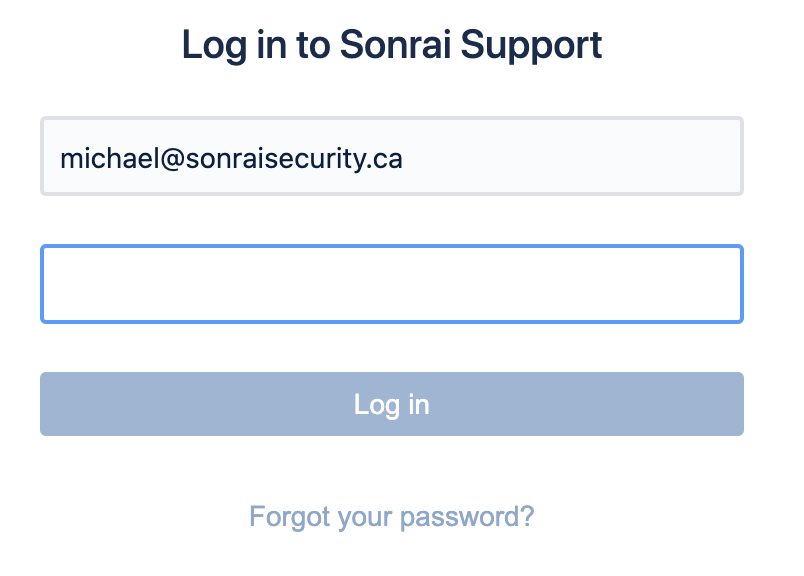
- Fill in the email address and password to authenticate
Updating a User Profile
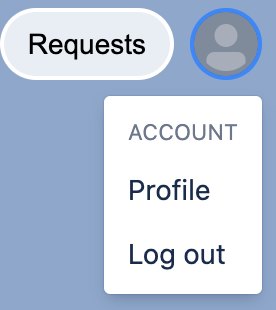
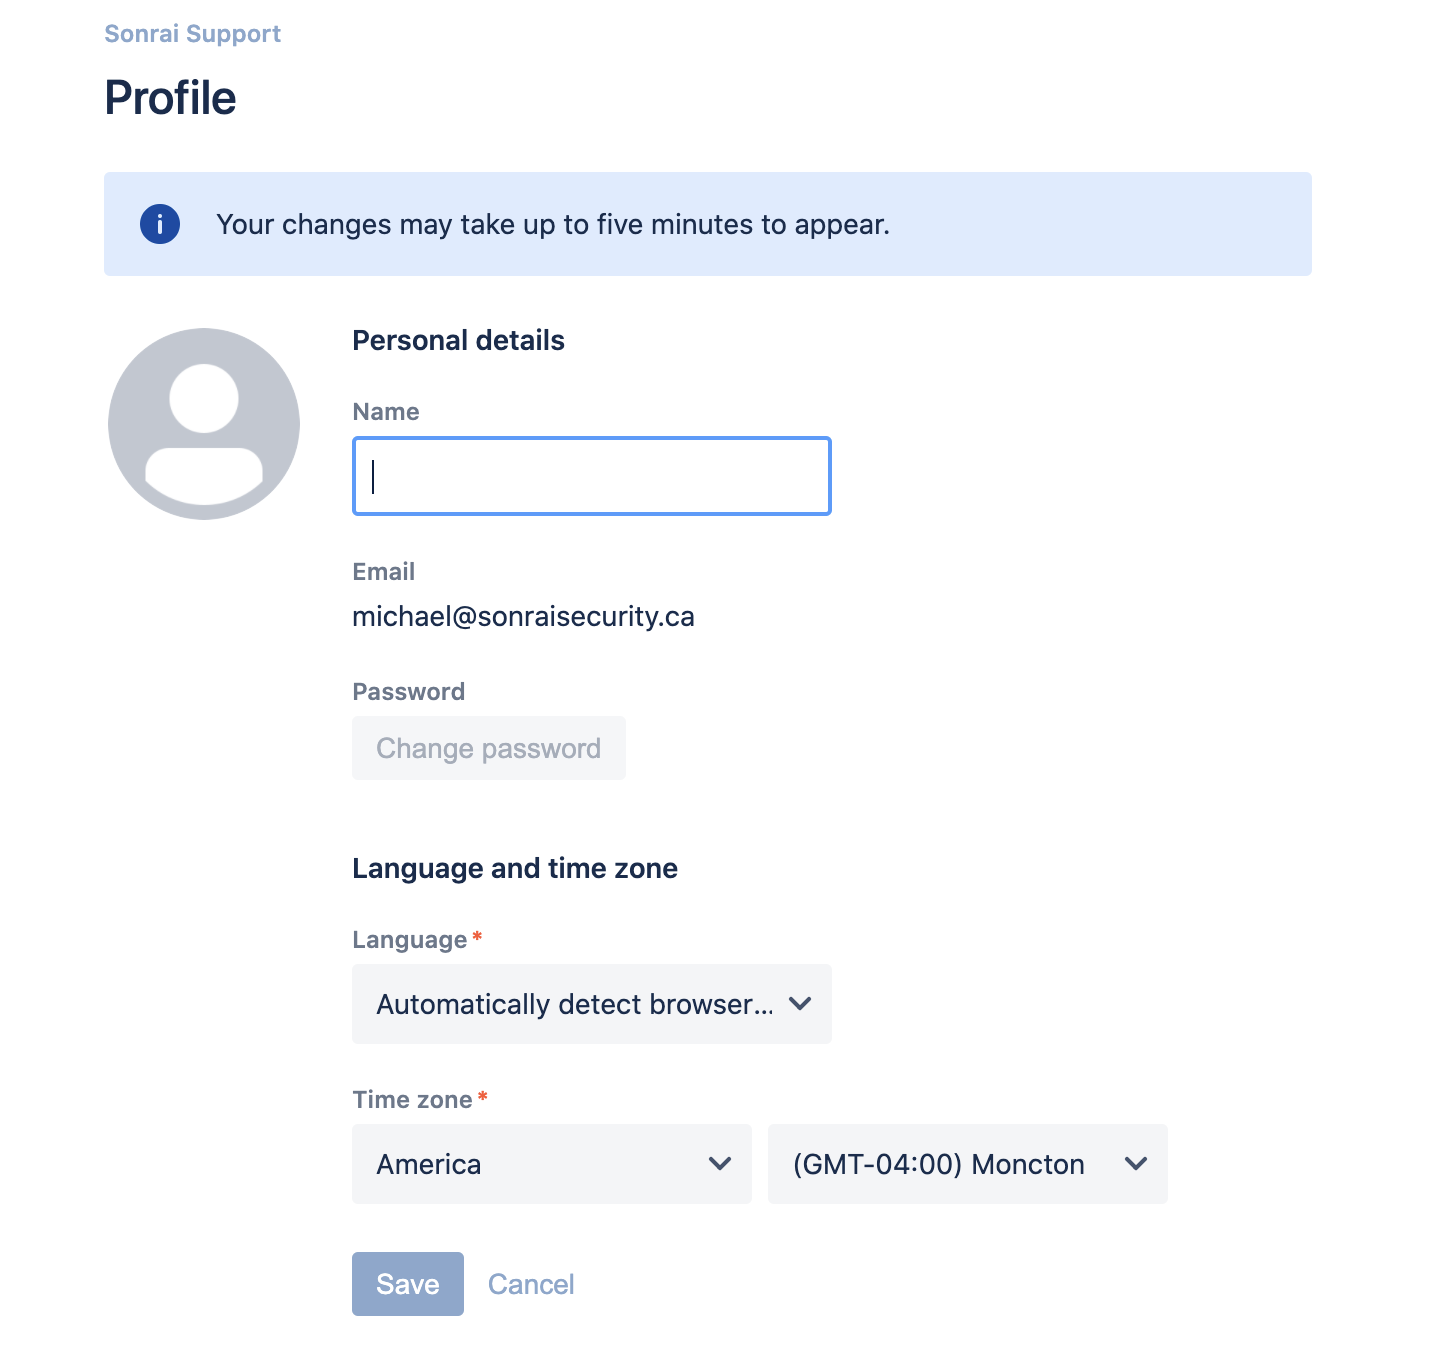
After authenticating, you'll be able to update your profile by clicking on the person icon in the top right corner of the site then clicking on “Profile”.
In the profile screen you can update the information displayed below (name, password, language, time zone):
Creating a Support Request
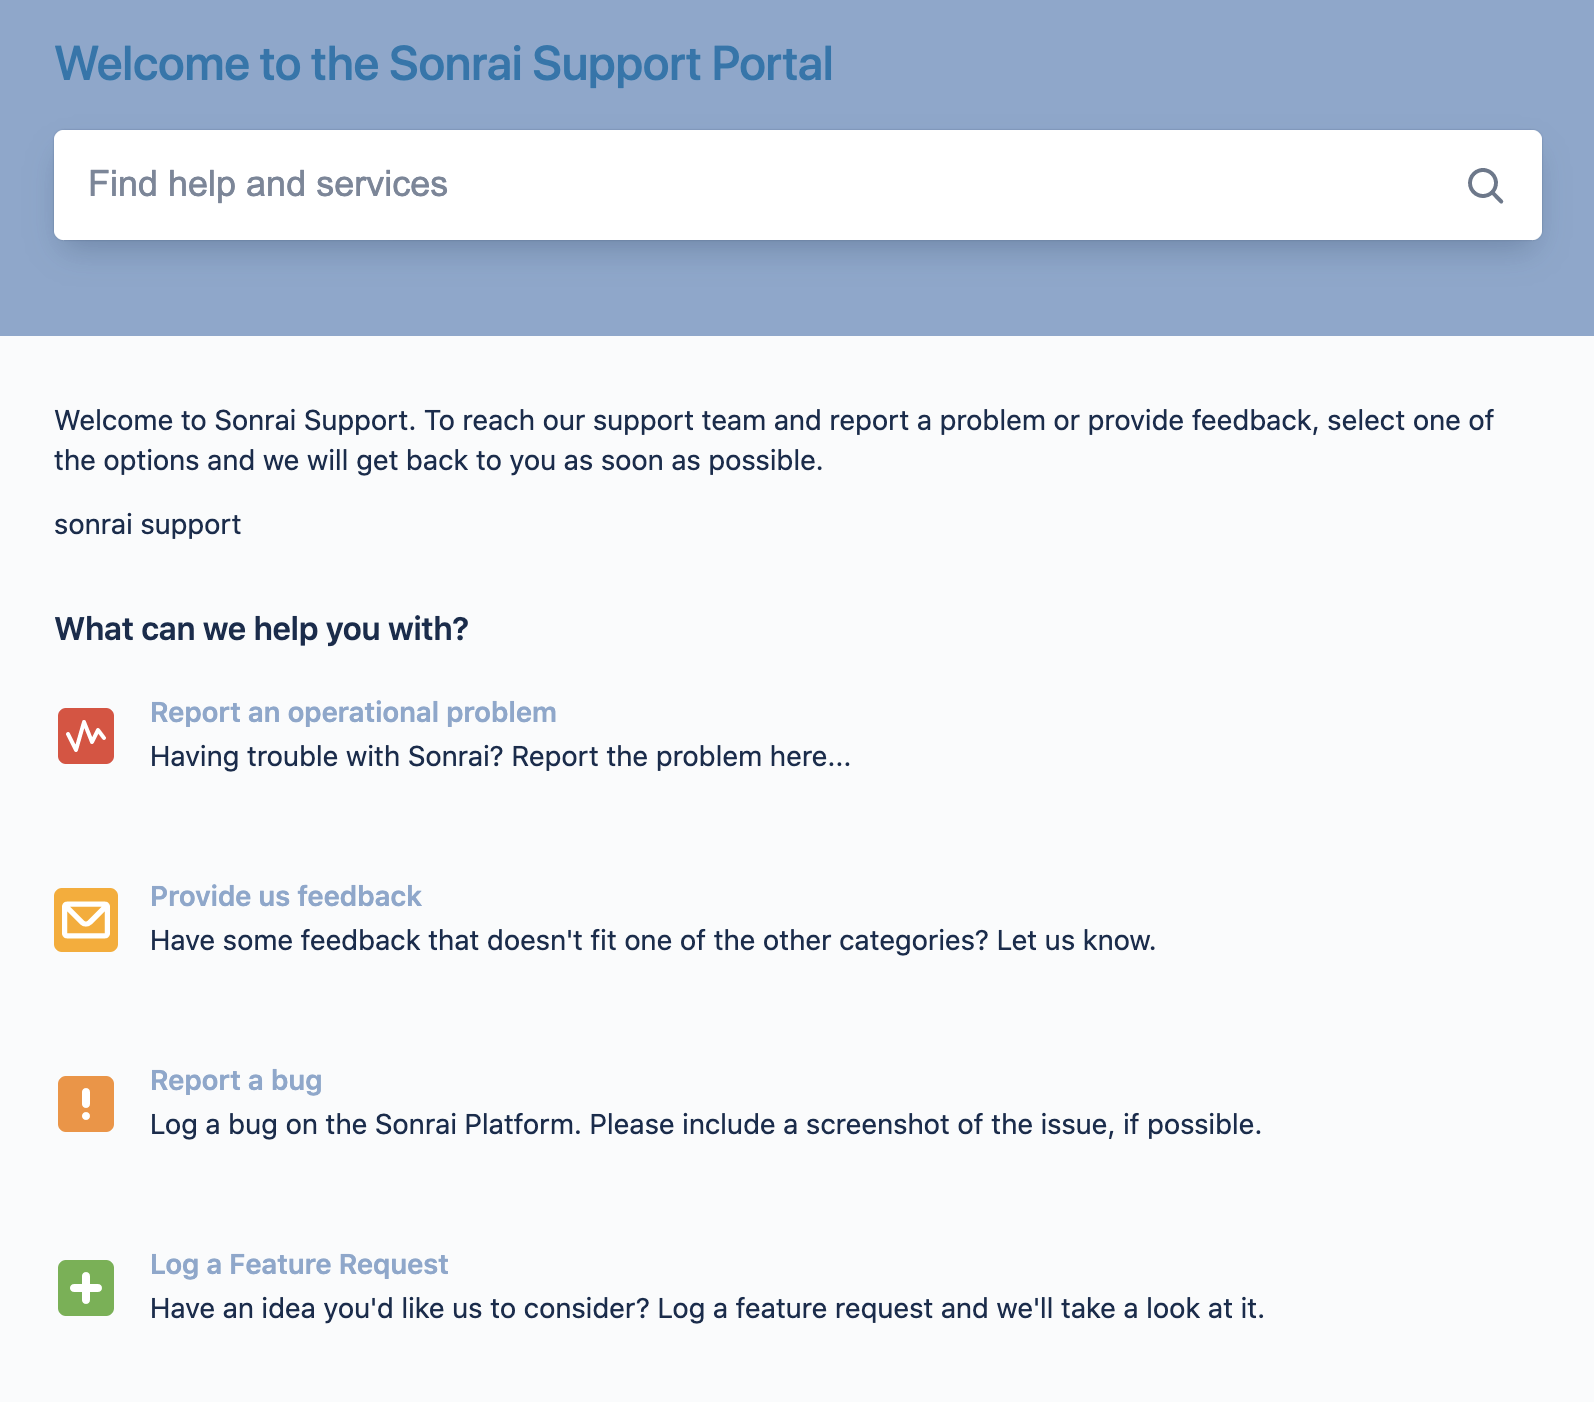
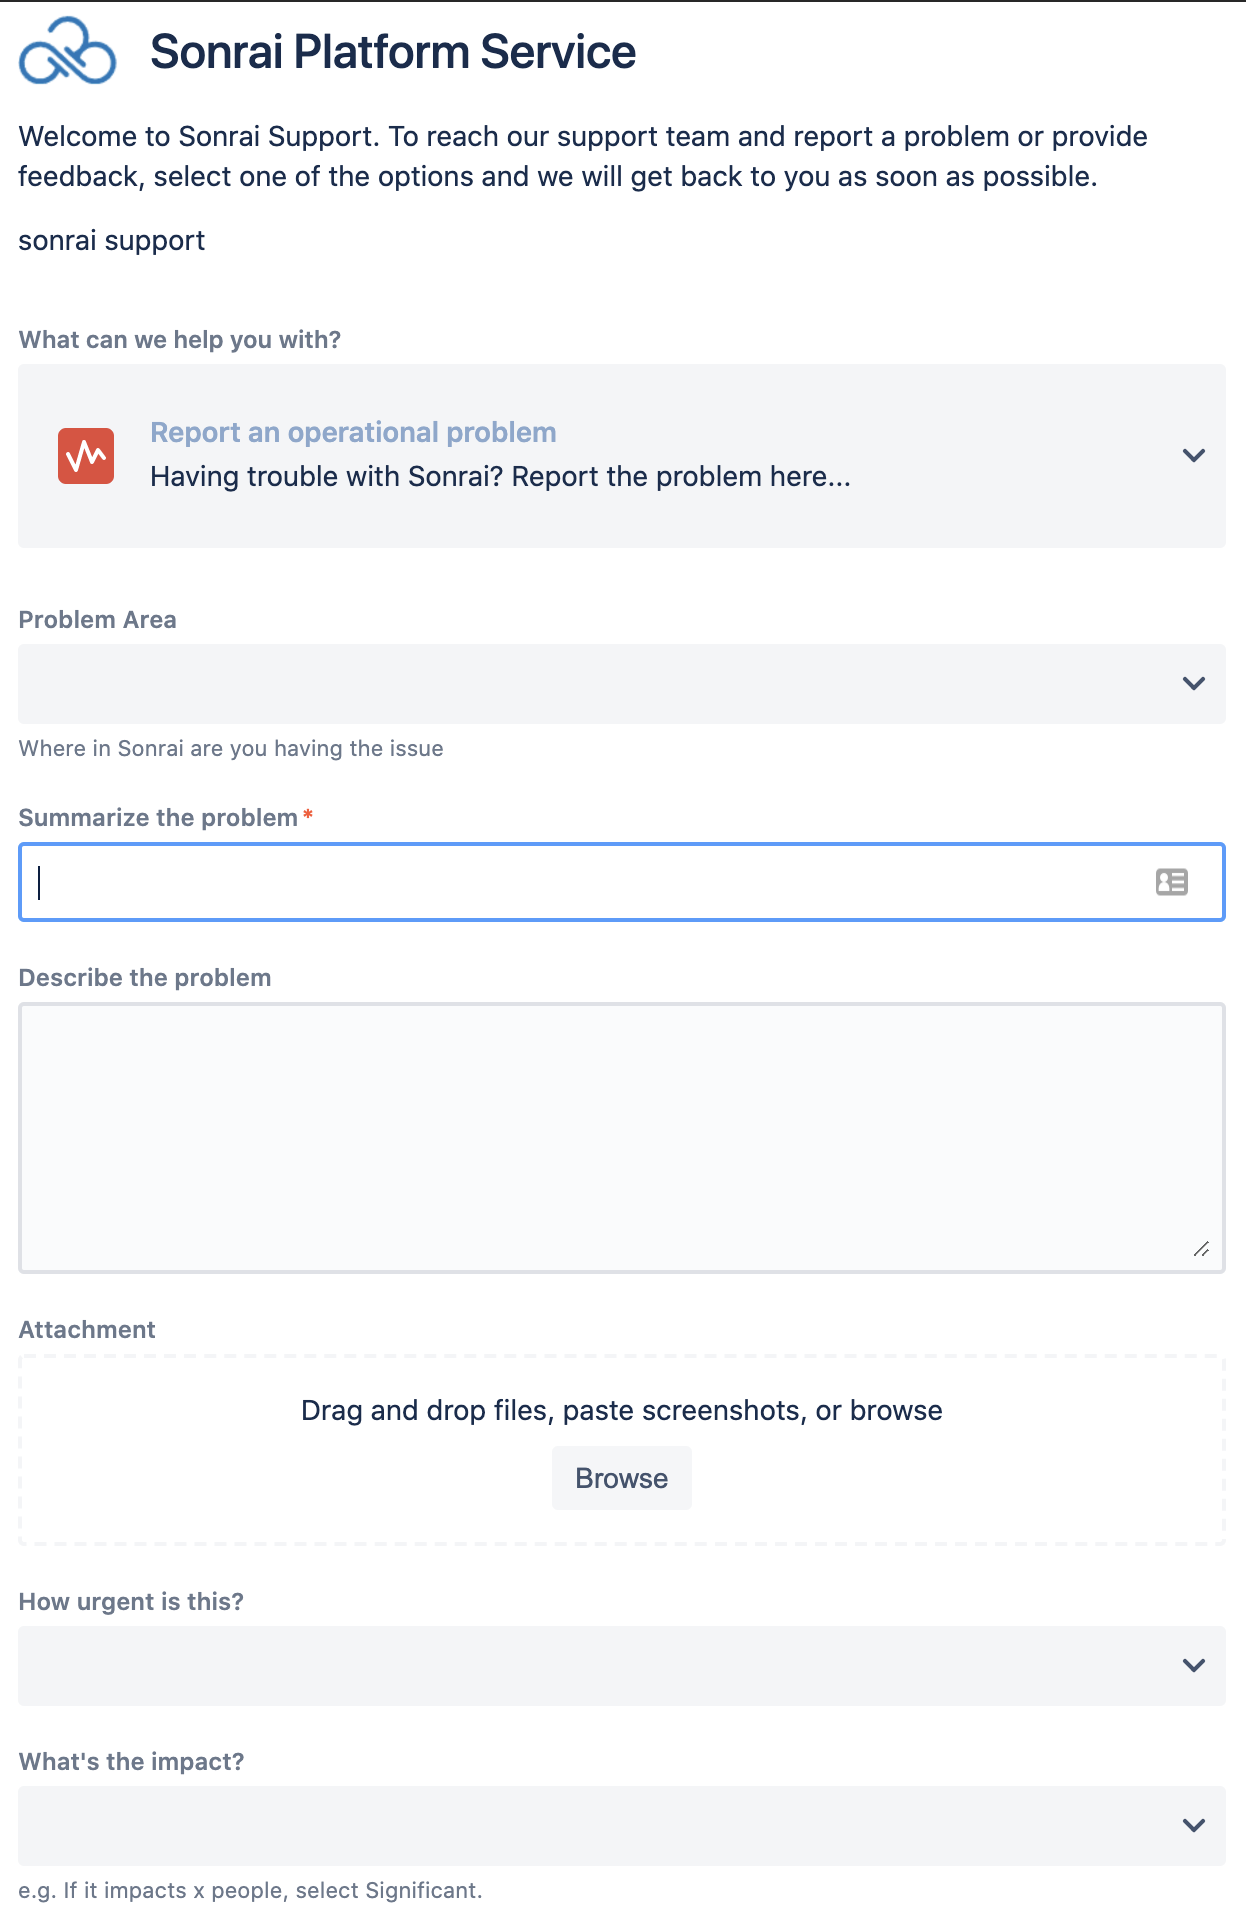
When logged in, you will be presented with links for creating different types of Sonrai requests.
Request Form Example
Below is a sample form you will be presented with when submitting a ticket to Sonrai Support.
Viewing Existing Tickets
If you have existing tickets you'd like to update or review, click on the "Requests" icon in the top right-hand corner of the screen.
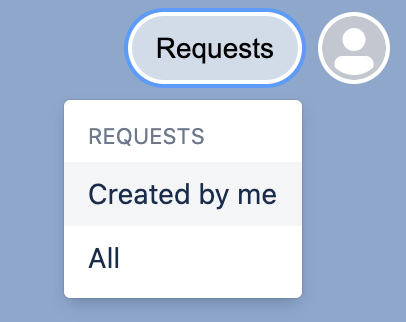
Click “Created by me” to view all of your open requests or “All” to see requests raised by everyone within your organization. You can also adjust the filters to help narrow down results.
Resetting Your Password
If you have forgotten your password, browse to the portal site, fill in your email address, and click “Next”. The screen will then add the password box and also provides a link to reset your password.
Click on the “Forgot your password?” link which will send you an email with a link to complete the password reset process.
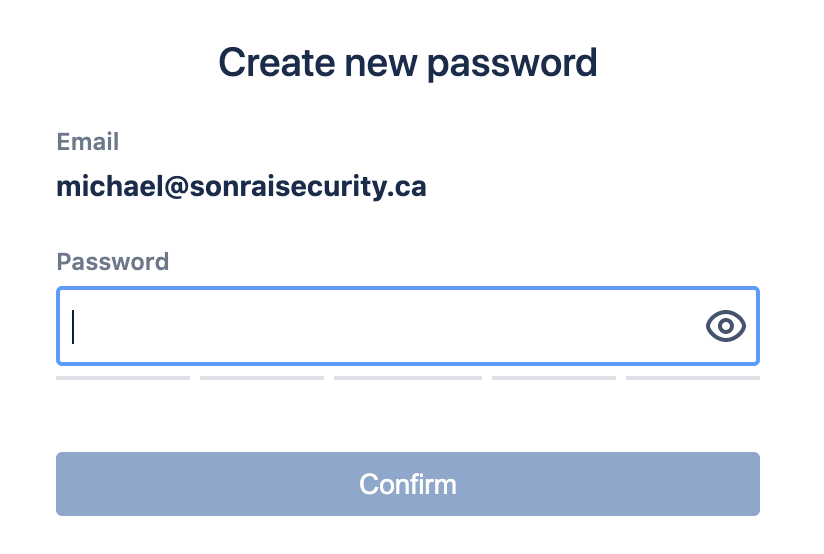
Once you have clicked on the emailed password reset link to open the webpage, create a new password then click “Confirm”.
Single-Sign-On and Password Policies
Jira Service Desk is a cloud service provided by Atlassian. Sonrai Security does not manage the password policy for it and can not setup SSO for this portal.
If your organization requires SSO configuration or alternative password policy requirements for this portal, Atlassian provides corresponding documentation on how to configure it for your organization: