Sonrai Remote MCP Server
© 2026 Sonrai Security. All rights reserved.
This feature is still being actively developed, and is in preview status.
Functionality may change from what is documented here.
Overview
Sonrai Remote MCP Server can be enabled to provide information about your Sonrai configuration to your MCP clients, using the same tools as our in-house AI agent WALLy.
This feature allows your tools to perform queries about the status of your cloud organization, to analyze controls that you have deployed, or even to stage certain changes in Cloud Permissions Firewall (CPF) that you can then manually review and deploy to your cloud!
Conveniently, a remote MCP server doesn't require you to set up or run your own server - making integration between your Sonrai CPF deployment and AI applications fast and easy! However, you will need to complete the following steps:
Enable Your Remote MCP Server
The following steps are required to enable and configure your Remote MCP Server:
In the org you want to connect with, use the Sonrai GraphQL API to enable creation of thirdPartyClients with this mutation:
mutation enableRemoteMCP {
  UpdateOrgConfigMetadata(metadata : {
   keyName: "ui/preferences/enableThirdPartyClientCreate"
    keyValue: "true"
  }) {
    metadata
  }
}
The Remote MCP Server for your organization is now ready to accept connections from external tools, once they have been authorized.
Remove the ability for your Remote MCP Server to authorize additional MCP clients by changing keyValue to false and re-running the enableRemoteMCP mutation.
Authorize an MCP Client
Before working with the Sonrai remote MCP server, you must add this server to your MCP client and then authorize the application.
Depending on which client application that you are using, detailed steps for adding an MCP server will vary.
The general process for app authorization is outlined below. Refer to documentation for your MCP client for more information about how to add and start an MCP server.
What permissions does my Remote MCP Server have?
When an MCP client is authorized, the remote MCP server automatically assumes the same set of permissions as the Sonrai user performing authorization. Keep this in mind when following the steps below, and ensure you are logged in using the intended Sonrai account before starting the process.
Reference: Learn more about Authorization from the MCP specification used by the Sonrai Remote MCP Server.
-
Go to your MCP client of choice (such as Claude Desktop, Claude Code, or VSCode) and add an MCP server.
The URL for your organization's Sonrai Remote MCP Server is:
https://mcp.sonraisecurity.com/<orgid>
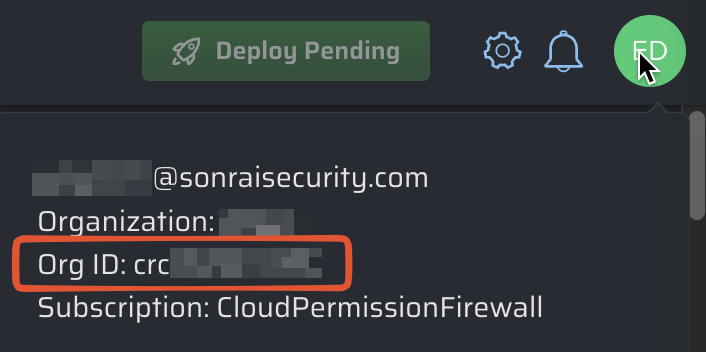
Where do I find my Sonrai organization ID?
In the Sonrai application, clicking on your user icon will display information about your Sonrai account including the organization ID.
-
After following your MCP client's instructions to add the remote MCP server, start the MCP server.
Sonrai remote MCP server supports Dynamic Client Registration (DCR), and will redirect you to a web browser for app authorization before continuing.
-
If you are not already logged in to the Sonrai application, log in using your regular Sonrai credentials for this environment.
(If you are already logged in then this step is skipped.)
-
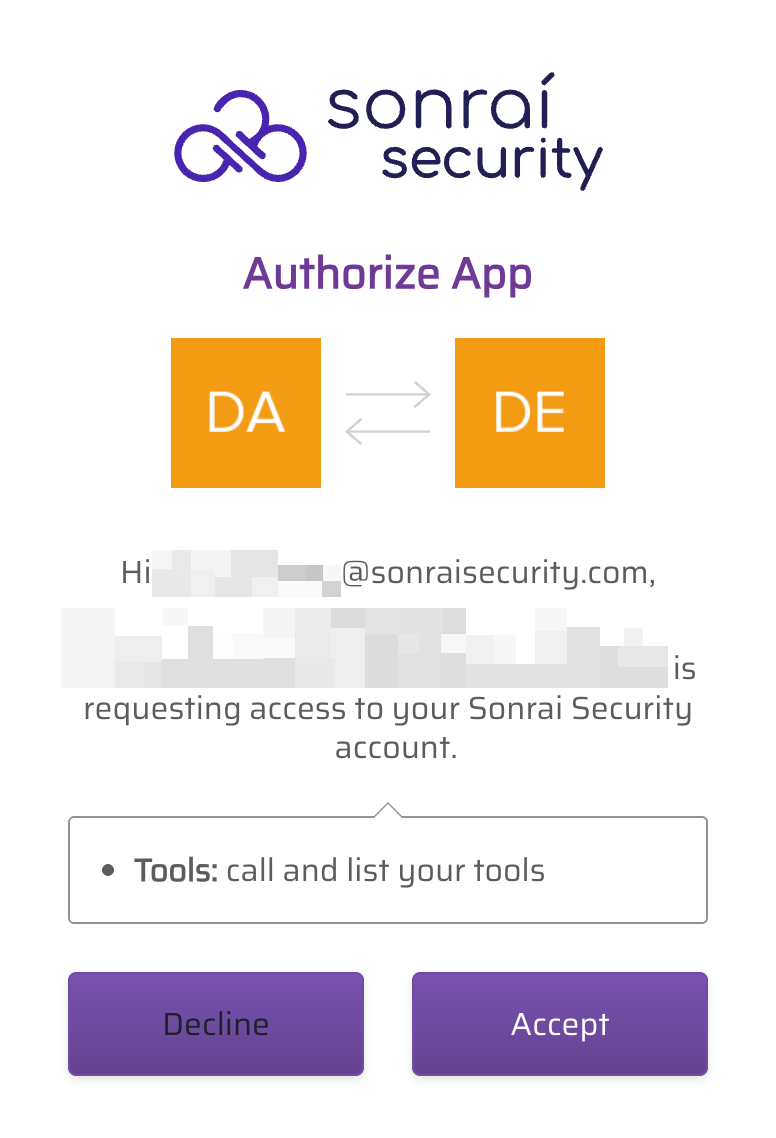
Accept the app authorization. Your MCP client now has access to Sonrai-specific tools!