User Management


© 2026 Sonrai Security. All rights reserved.
Inviting Users
Users can be managed by navigating to the Users tab within the lefthand menu.
To send the invitation, the user's email address and at least one role must be input into the form. Each role is paired with a scope — select All Scopes, or choose the part of your cloud hierarchy the role should apply to.
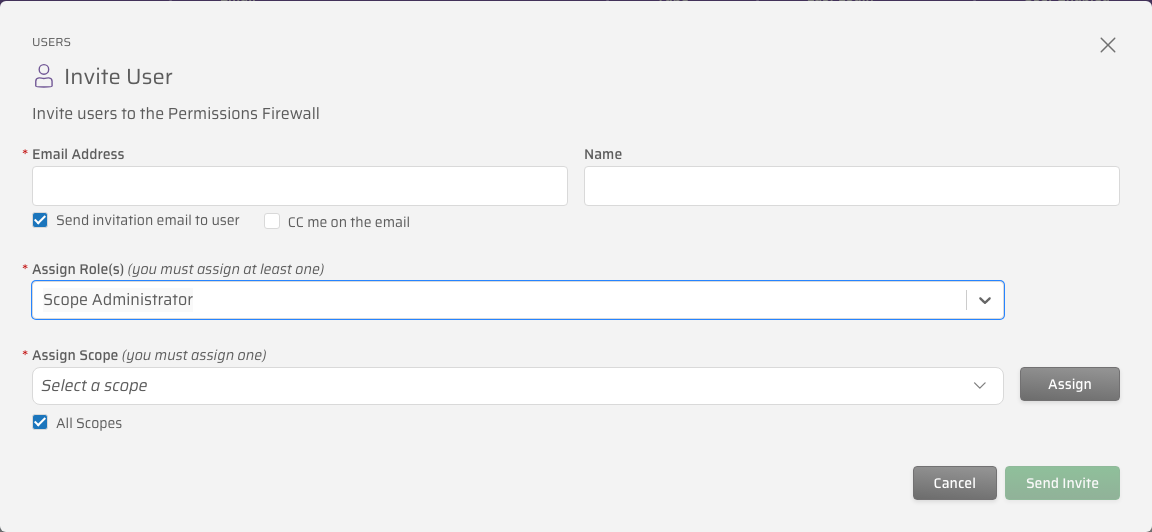
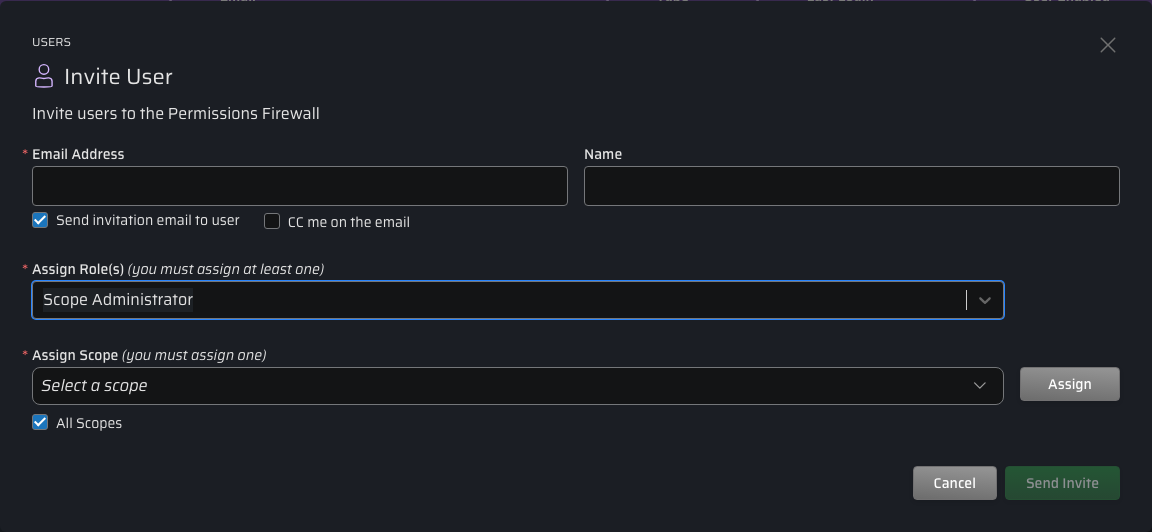
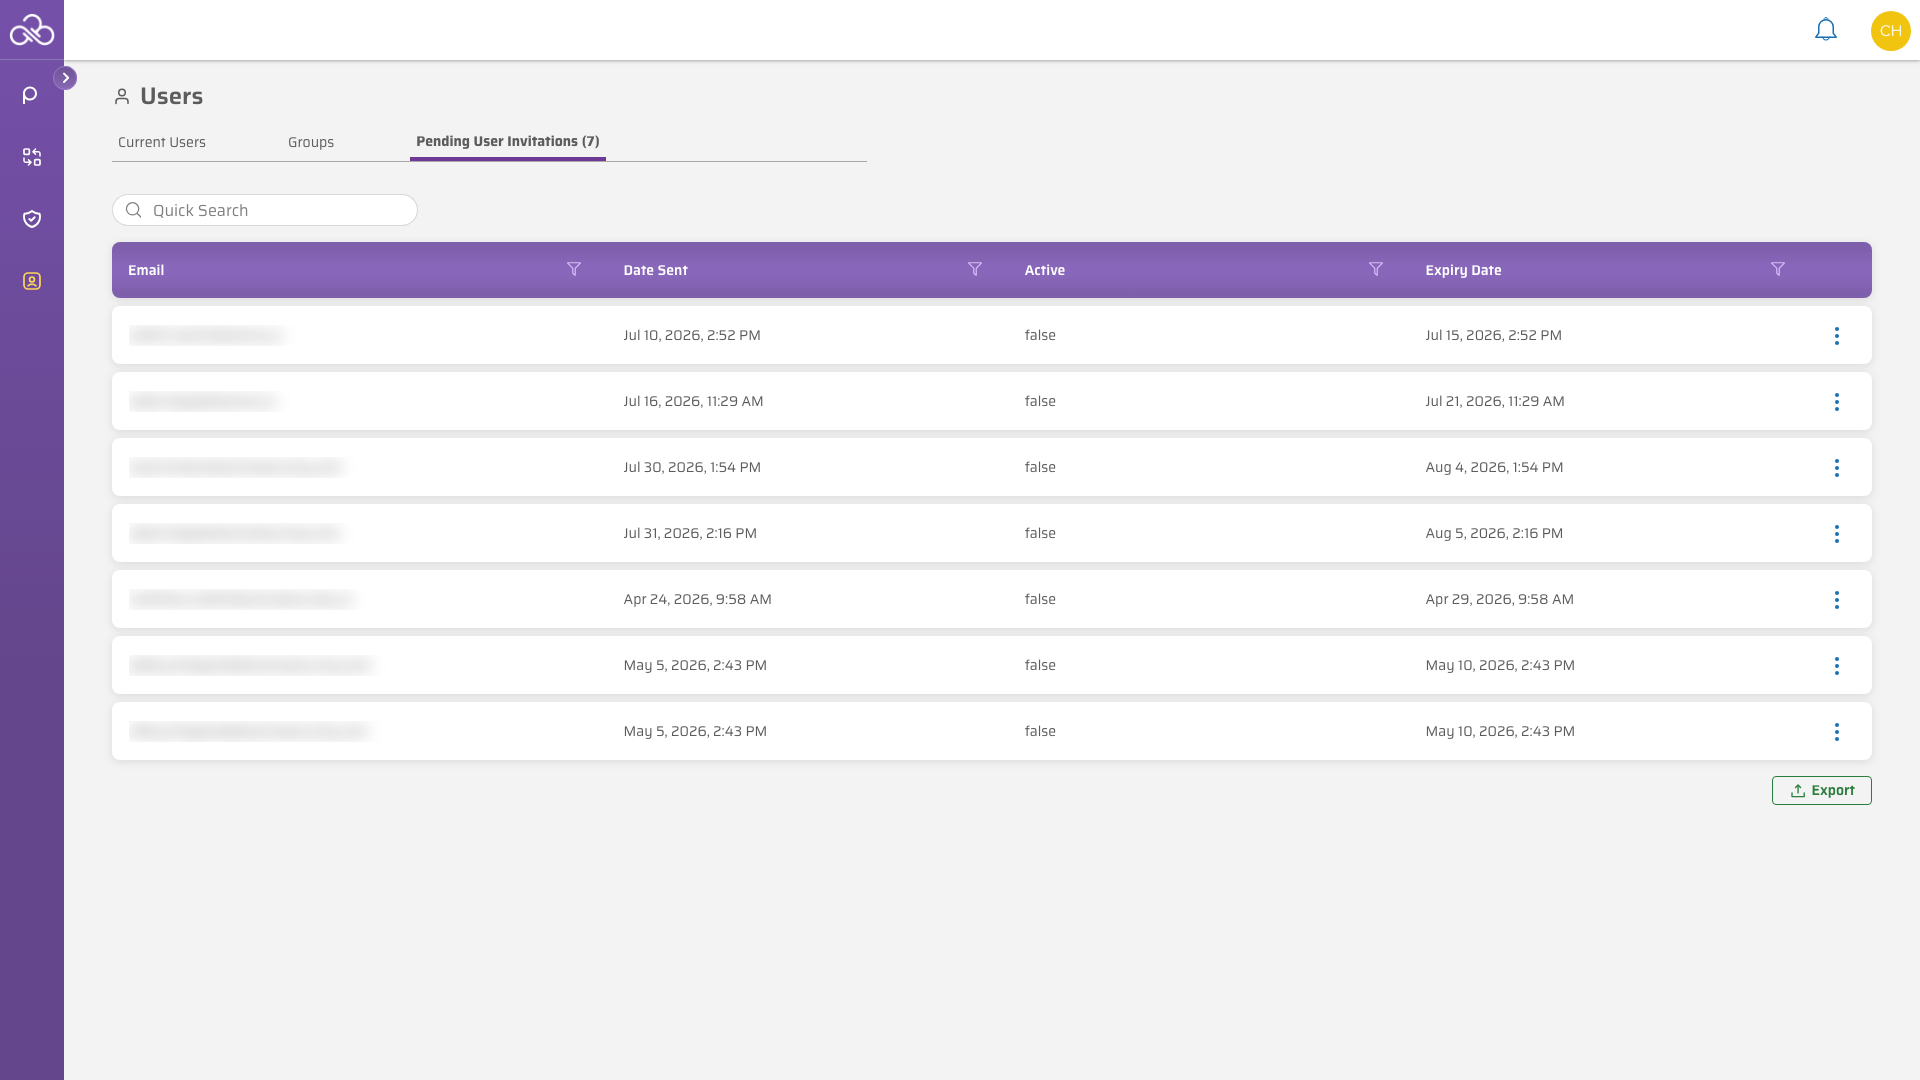
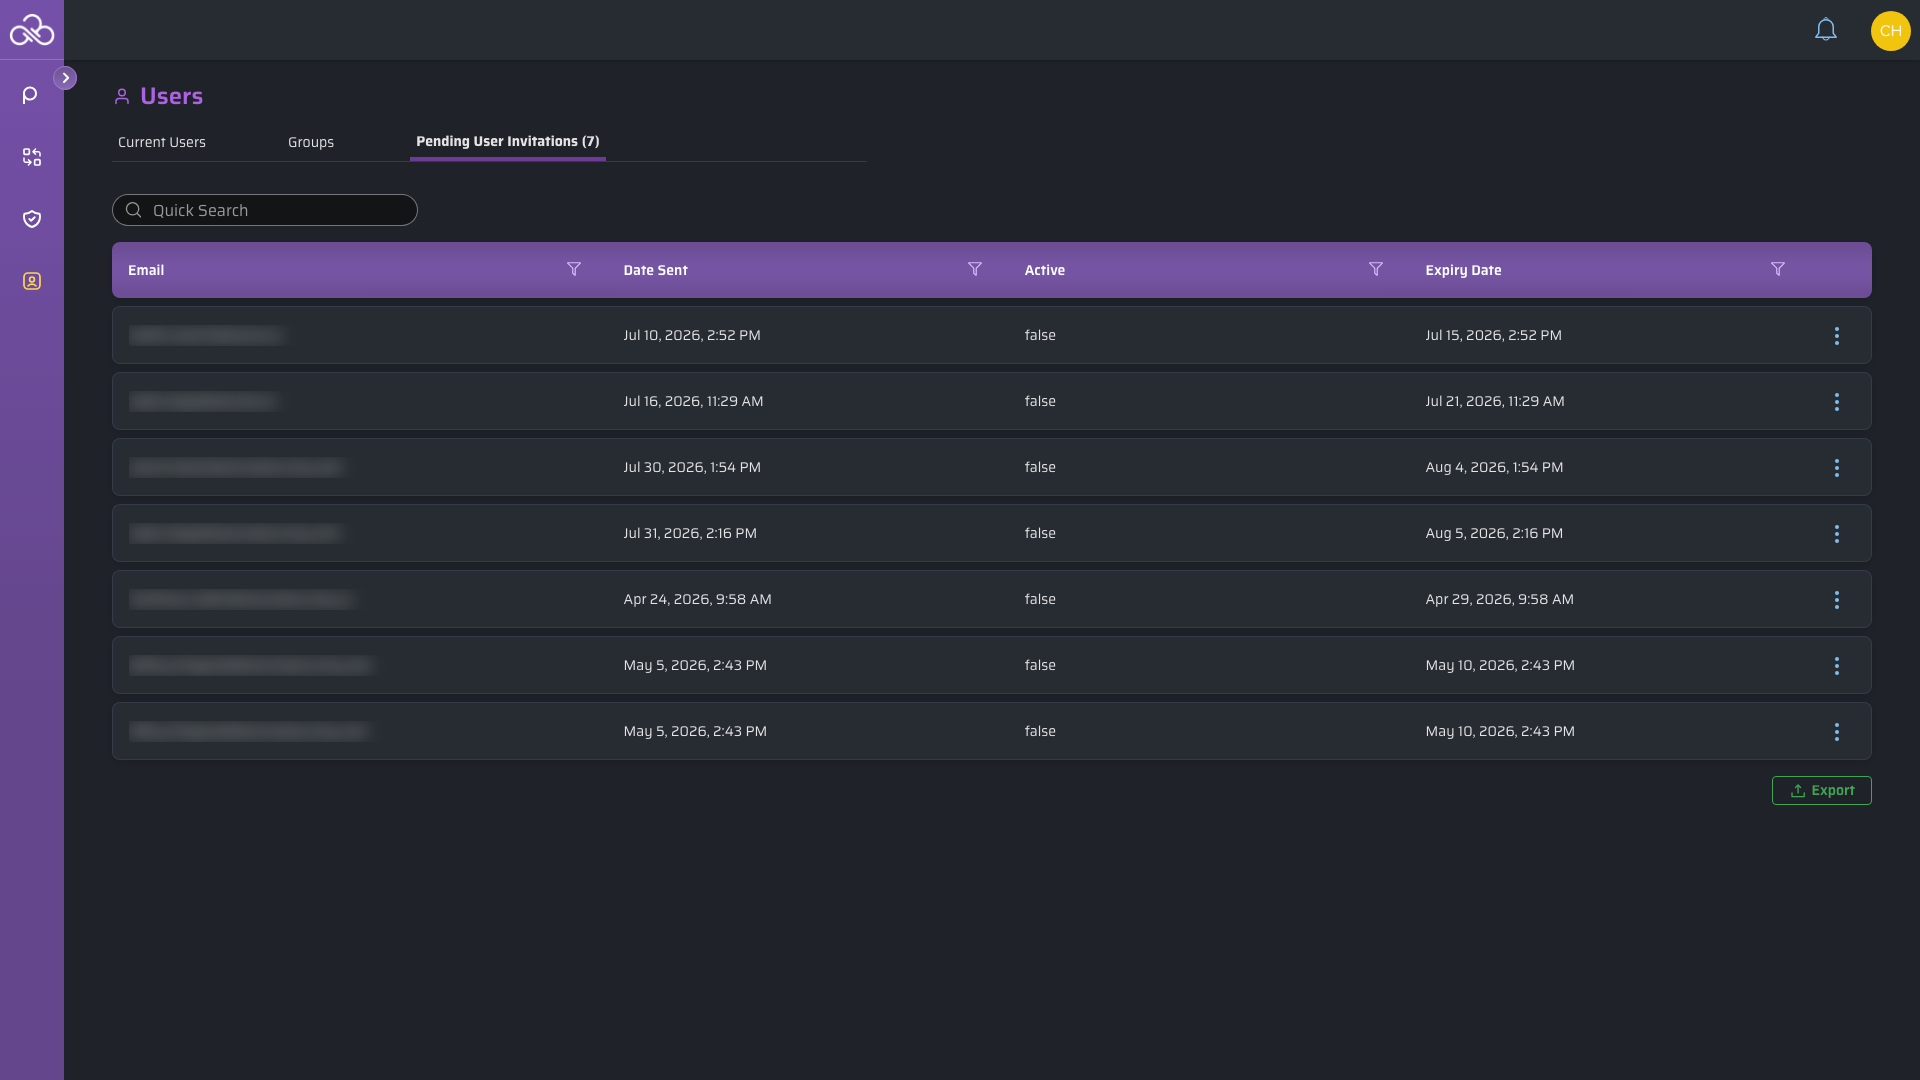
Once sent, users will be listed in the "Pending User Invitations" tab until the invitation is accepted.
Only valid email addresses can be used with the Sonrai Platform. Addresses which cannot accept email are not supported (this applies to users utilizing local Sonrai authentication and external SSO integration)
Organizations are permitted to have up to 25 accounts by default (contact Support and the limit can be increased)
Automating User Invitations
Leverage the "Send Validation Email" setting at the top of the form to assist in automating user invitations.
Unchecking the "Send Validation Email" setting will not send a user validation email and it will hide the “CC myself on the email” checkbox.
If required, supplying invalid domains (Example: joe.smith@exampleinvalid.domain.testing) in general email address format [with "Send Validation Email" unchecked] is supported.
To script user invitation automation using GraphQL:
mutation createInvite {
  CreateSonraiInvites(
    input: {
      email: "joe.smith@exampleinvalid.domain.testing"
      name: "Joe Smith"
      ccInviterOnEmail: true
      expiryTimeInSeconds: 1143500
      sendEmail: false
    })
  {
    items{
      srn
    }
  }
}
Authentication & Password Policy
Single Sign-On (SSO)
If your organization has SSO configured and an IDP group has CPF role assignments, users in that group can log in without an invitation. See Login without invitations for details.
Password & MFA Token Resets
Authentication and password/MFA token resets are handled through your organization's SSO platform.
Local Sonrai Password/MFA
For users who have local passwords [i.e., are not leveraging SSO], password and MFA settings are managed by Sonrai's Auth0 password management.
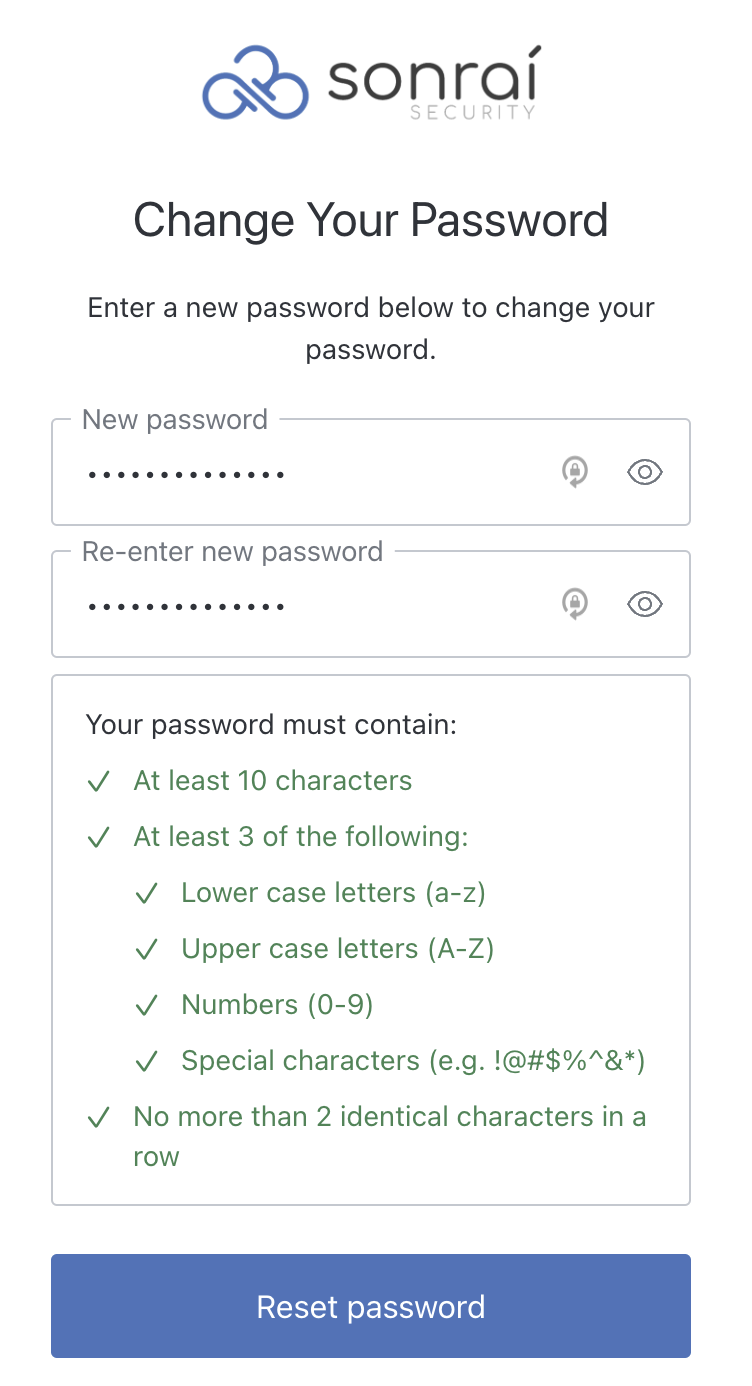
Password Requirements
-
10 character minimum length
-
At least 3 of the following:
-
Lower case letters (a-z)
-
Upper case letters (A-Z)
-
Numbers (0-9)
-
Special characters
( ex.!@#$%^&*) -
No more than 2 identical characters in a row
-
Previous 5 passwords cannot be reused
*Multi-factor authentication is required for local (non-SSO) users
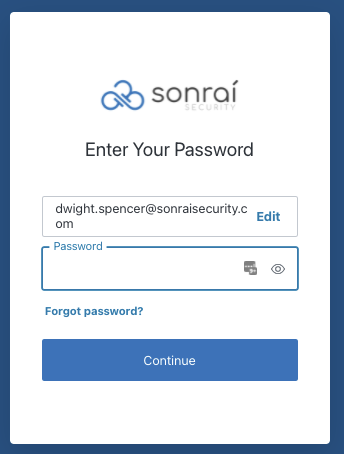
Resetting Passwords
To reset a password:
- Navigate to https://app.sonraisecurity.com/
- Enter the user's email address
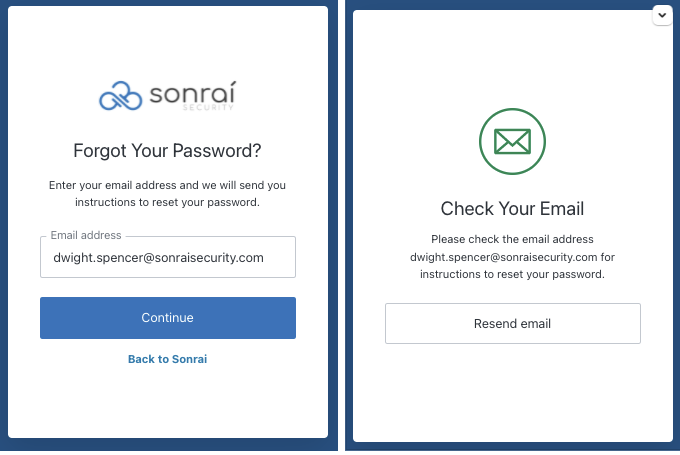
- Click the "Forgot password?" link
- Click and check the email inbox for the password reset link
*Check your spam folder if the email is not received within a few minutes!
Resetting MFA Tokens
Local (non-SSO) MFA token resets can only be completed through submitting a Support Ticket.
Failed Login Attempts
If a user enters their password incorrectly more than 10 times from a single IP address, they will be blocked from logging into that account from that IP address. This can block can be removed manually by Sonrai by changing your password, or by clicking the “Unblock” link in the email notification sent to the blocked account.
Reference: For more details on failed login monitoring & disabling, refer to Auth0 - Brute Force Protection documentation.
Changing the Default Invitation Timeout Period
By default, Sonrai user invitations are valid for 5 days, and afterwards, invitations must be resent. This default invitation expiration can be set to a larger value by using the following mutation in Explorer:
Standard timeout values for consideration include:
- 30 days ->
2592000 - 60 days ->
5184000 - 90 days ->
7776000 - 120 days ->
10368000 - 180 days ->
15552000
Do not set the timeout value to exceed 6 months.
To view the current timeout value:
- Example Query
- Example Query Return
Example Query
query getSonraiOrgConfig {
    SonraiOrgConfig {
        metadata
    }
}
Example Query Return
{
  "data": {
    "SonraiOrgConfig": {
      "metadata": {
        "ui/preferences/analyticsWindowDays": "2",
        "ui/preferences/grantedDateGracePeriod": "3"
      }
    }
  }
}
To change the current value to a new one:
mutation setOrgInviteDefaultExpiry {
    UpdateOrgConfigMetadata(metadata: [
    {
        keyName: "ui/preferences/defaultInviteTimoutDurationSeconds"
        keyValue: "7776000"
    }
    ]) {
        metadata
    }
}
Managing Users
Role Changes
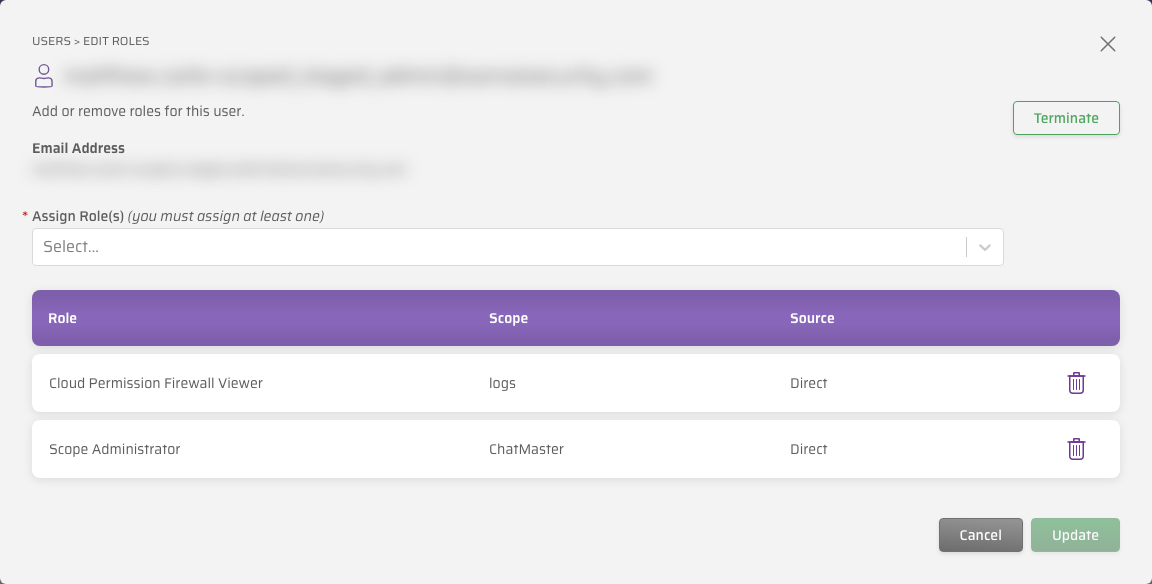
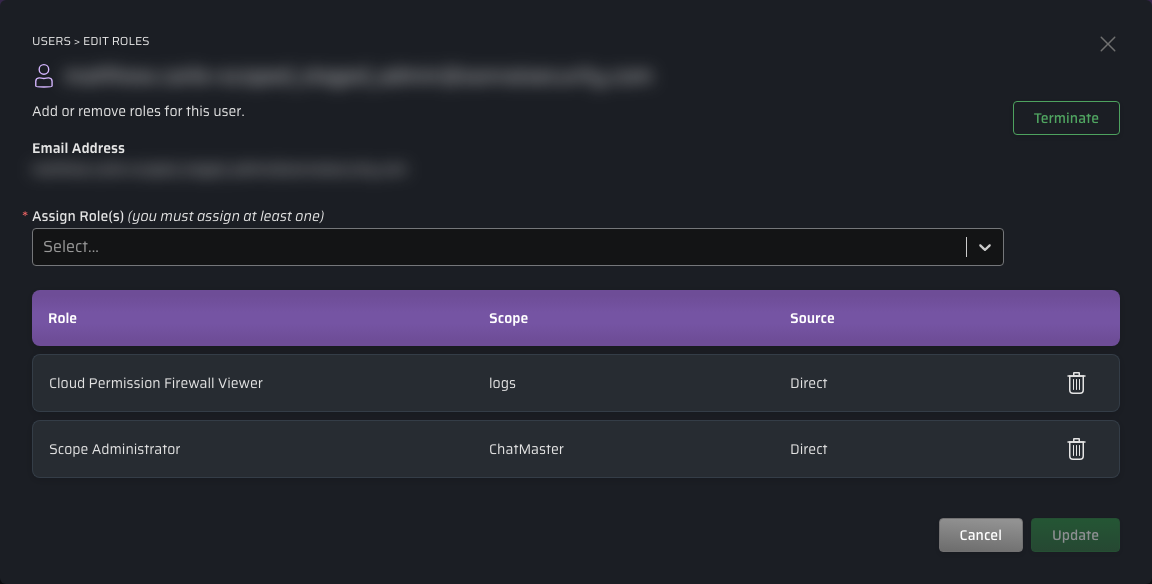
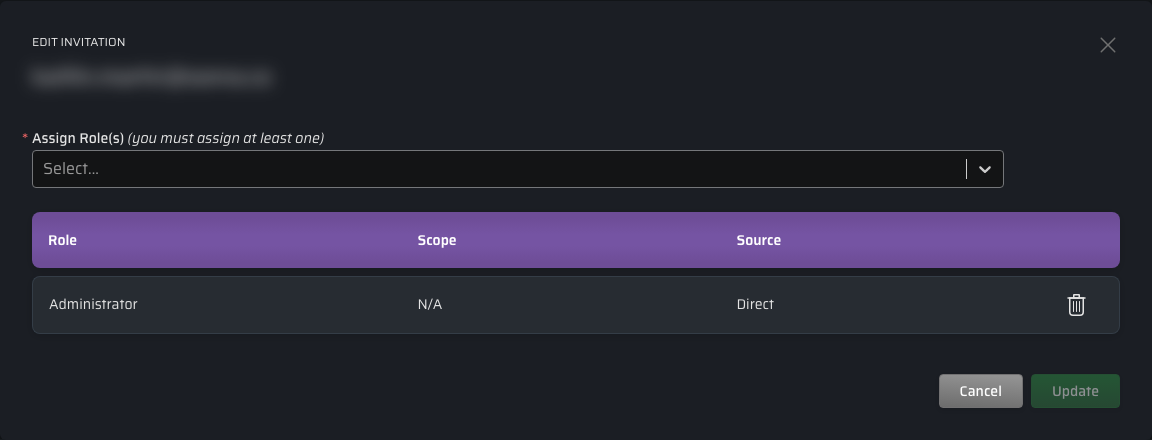
Once a user has been added to the Sonrai platform, their assigned role(s) can be edited from the Current Users management screen (simply click on the name of the user in the table row). The Edit User Roles dialog lists each assignment with its Role, Scope, and Source, and lets you add or remove assignments. Adding the same role at a second scope creates a second assignment — see Role Assignment Scope.
Modifying Pending User Invitations
To manage a pending user invitation, select for the invitation. Alternatively, you can cancel or resend the invitation email.
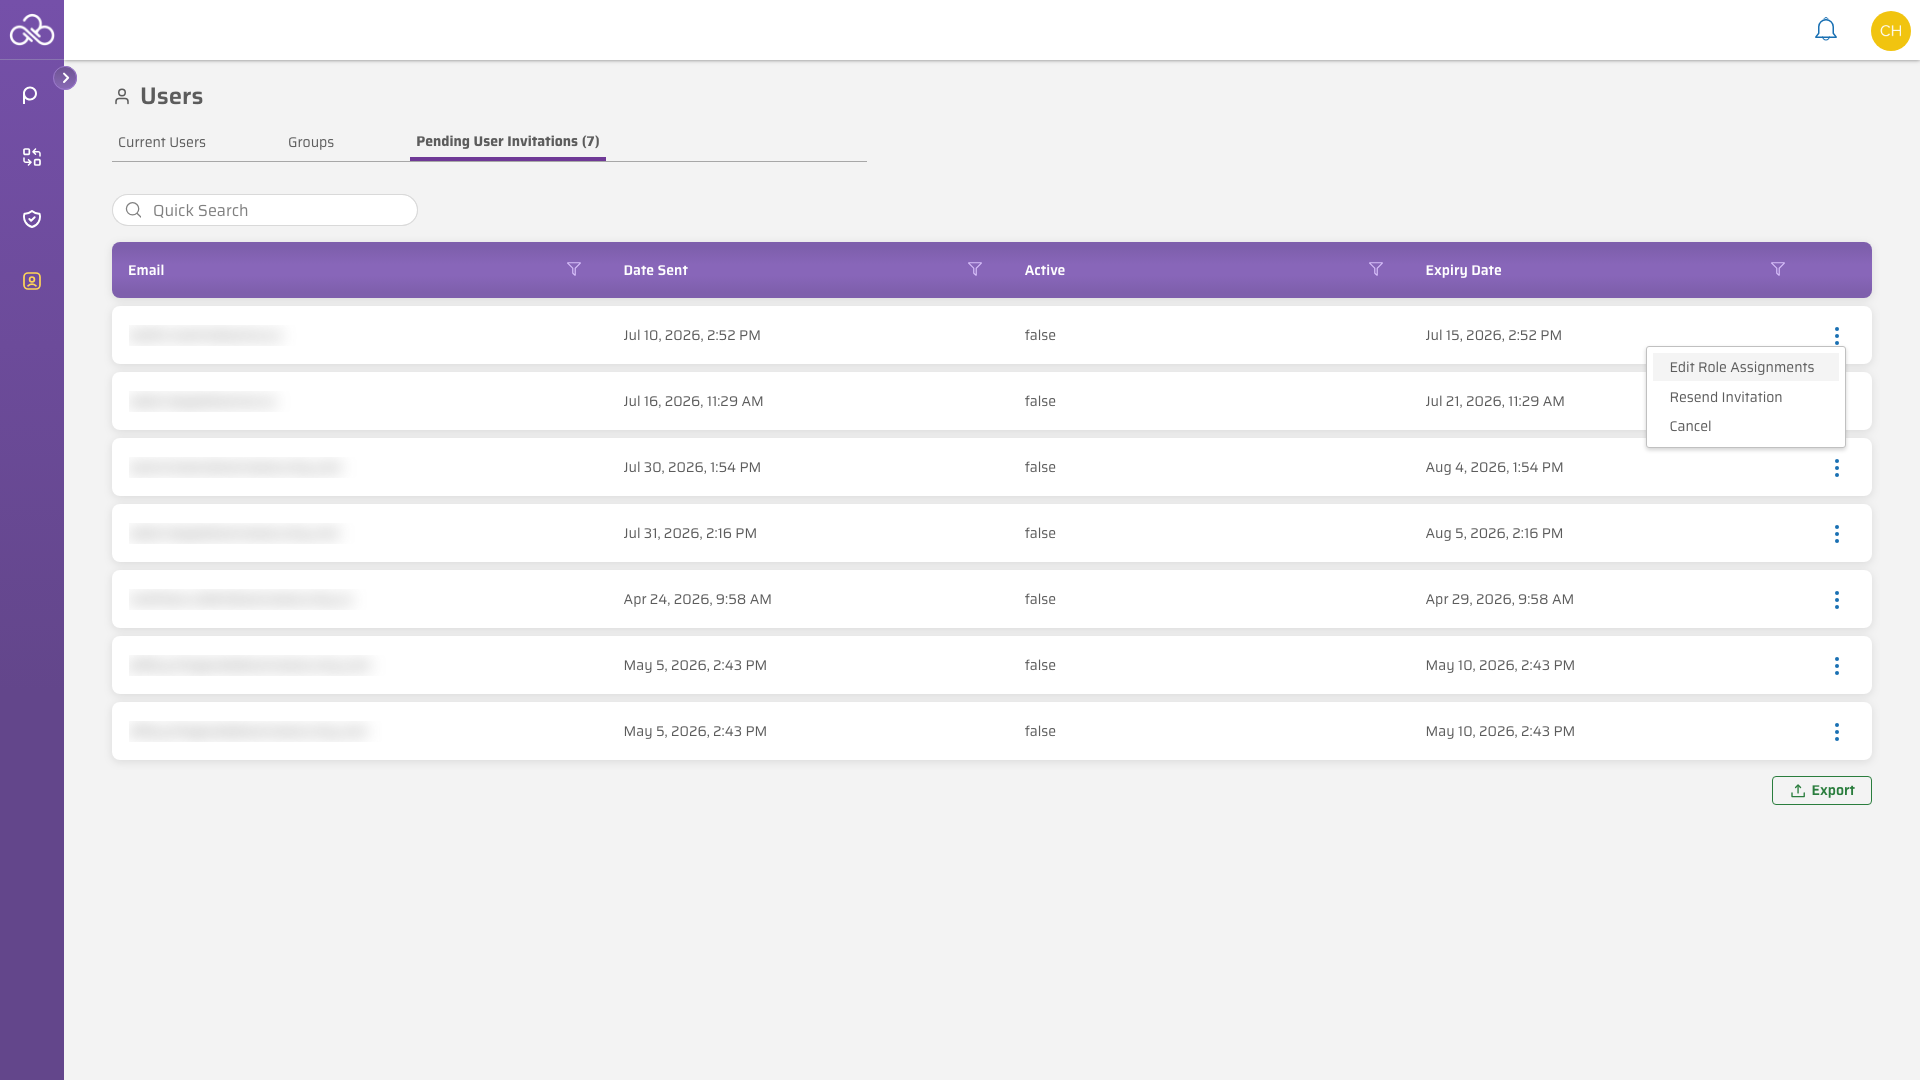
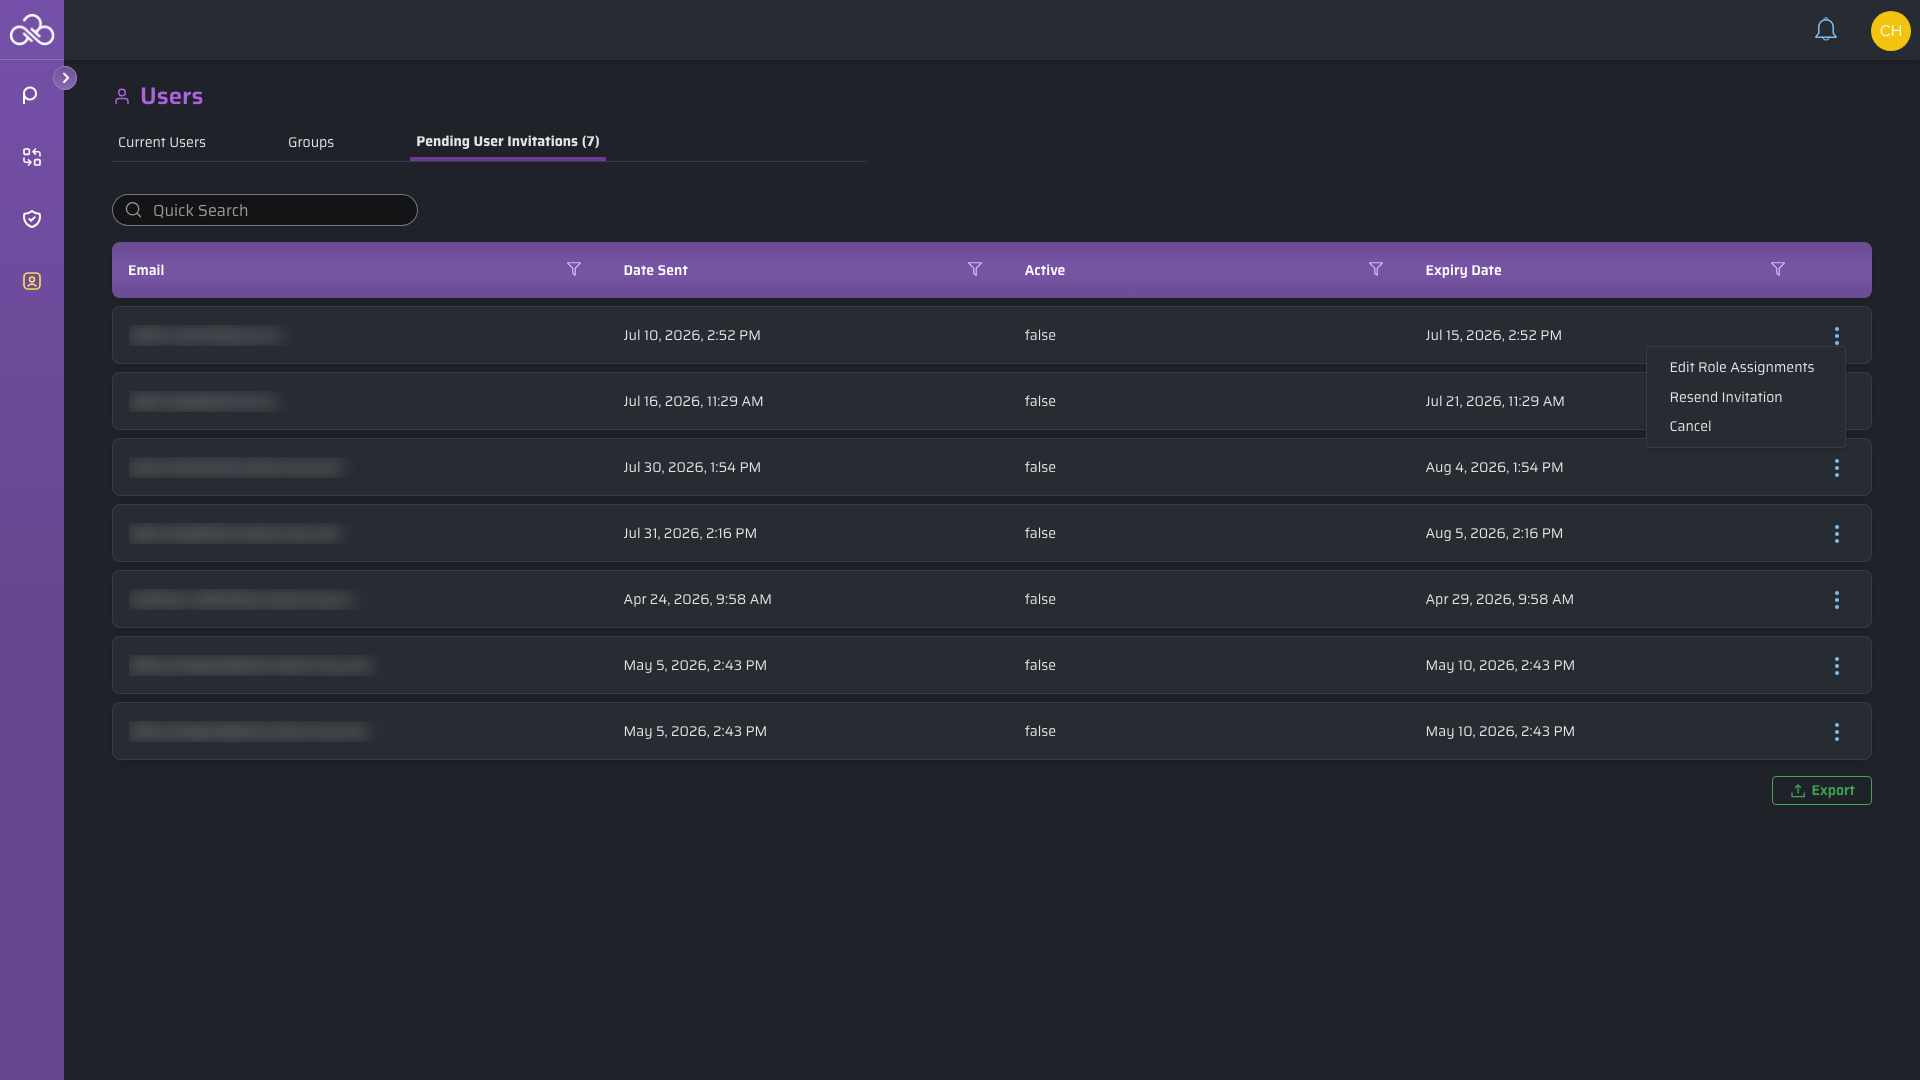
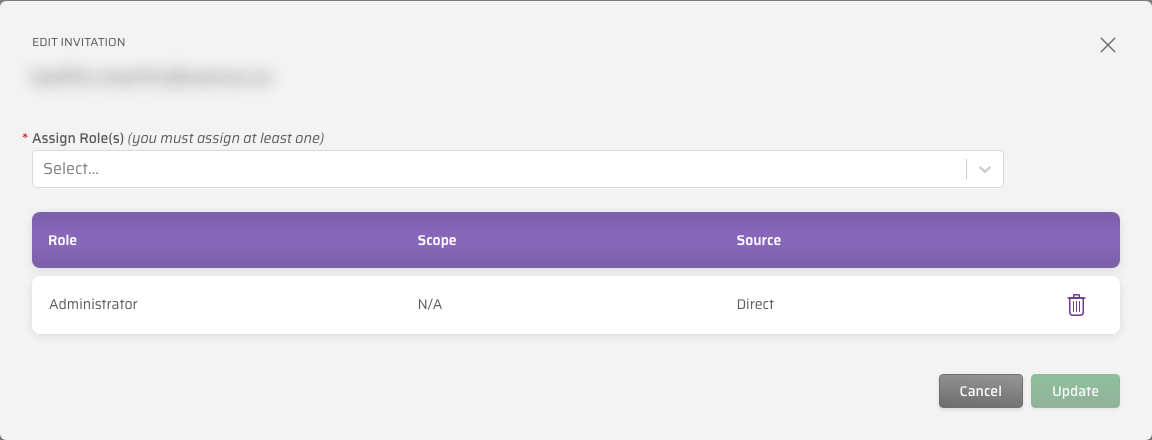
Selecting Edit Role Assignments opens the invitation's roles, where you can add or remove role and scope assignments before the invitation is accepted.
User Name Changes
A user's name can be changed through API calls, if needed.
-
Within the browser Developer Tools, navigate to the Network tab
-
Log in to your environment
-
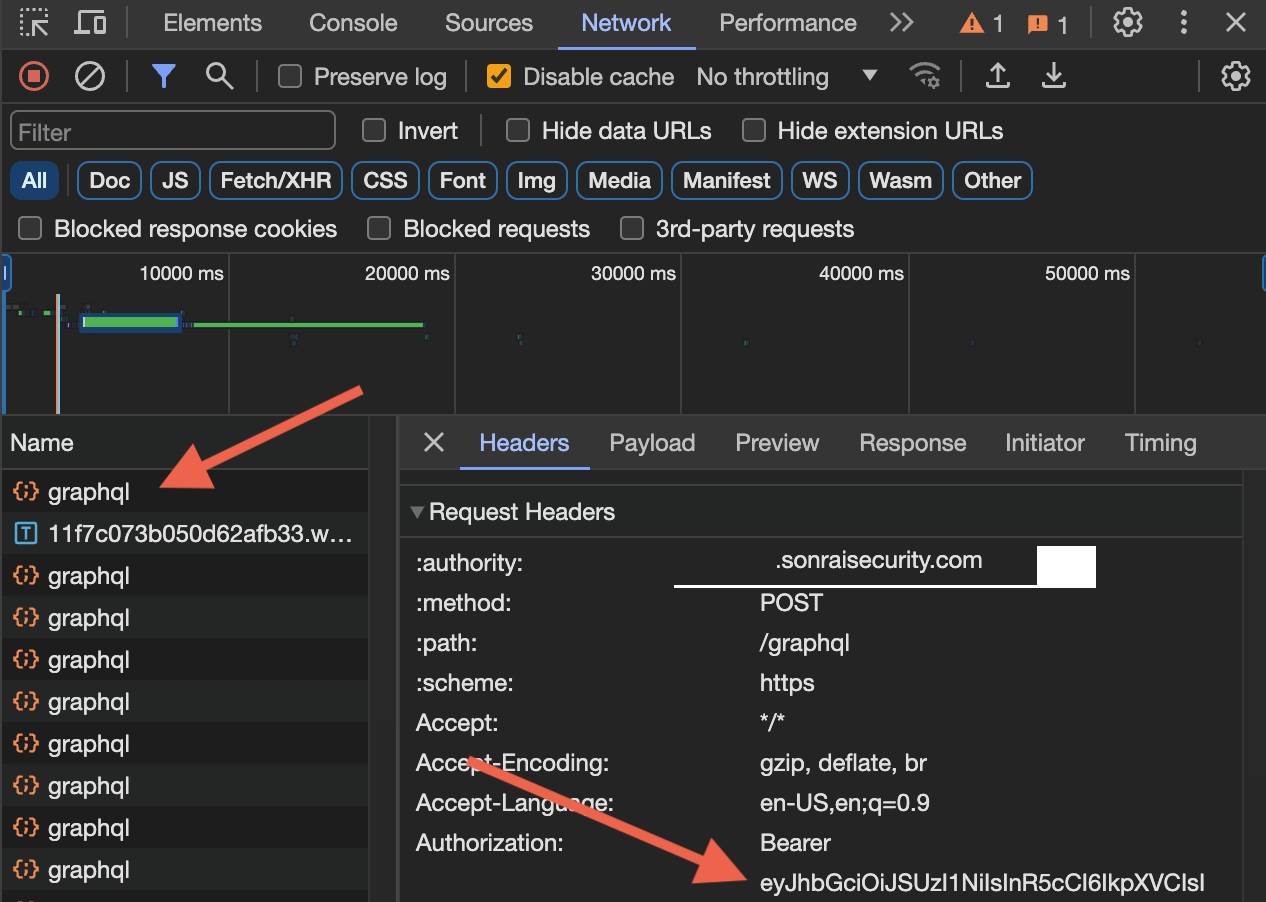
Within the browser Developer Tools, click on one of the graphql calls, then the "Headers" tab. Within the Request Headers, copy the Bearer Token:
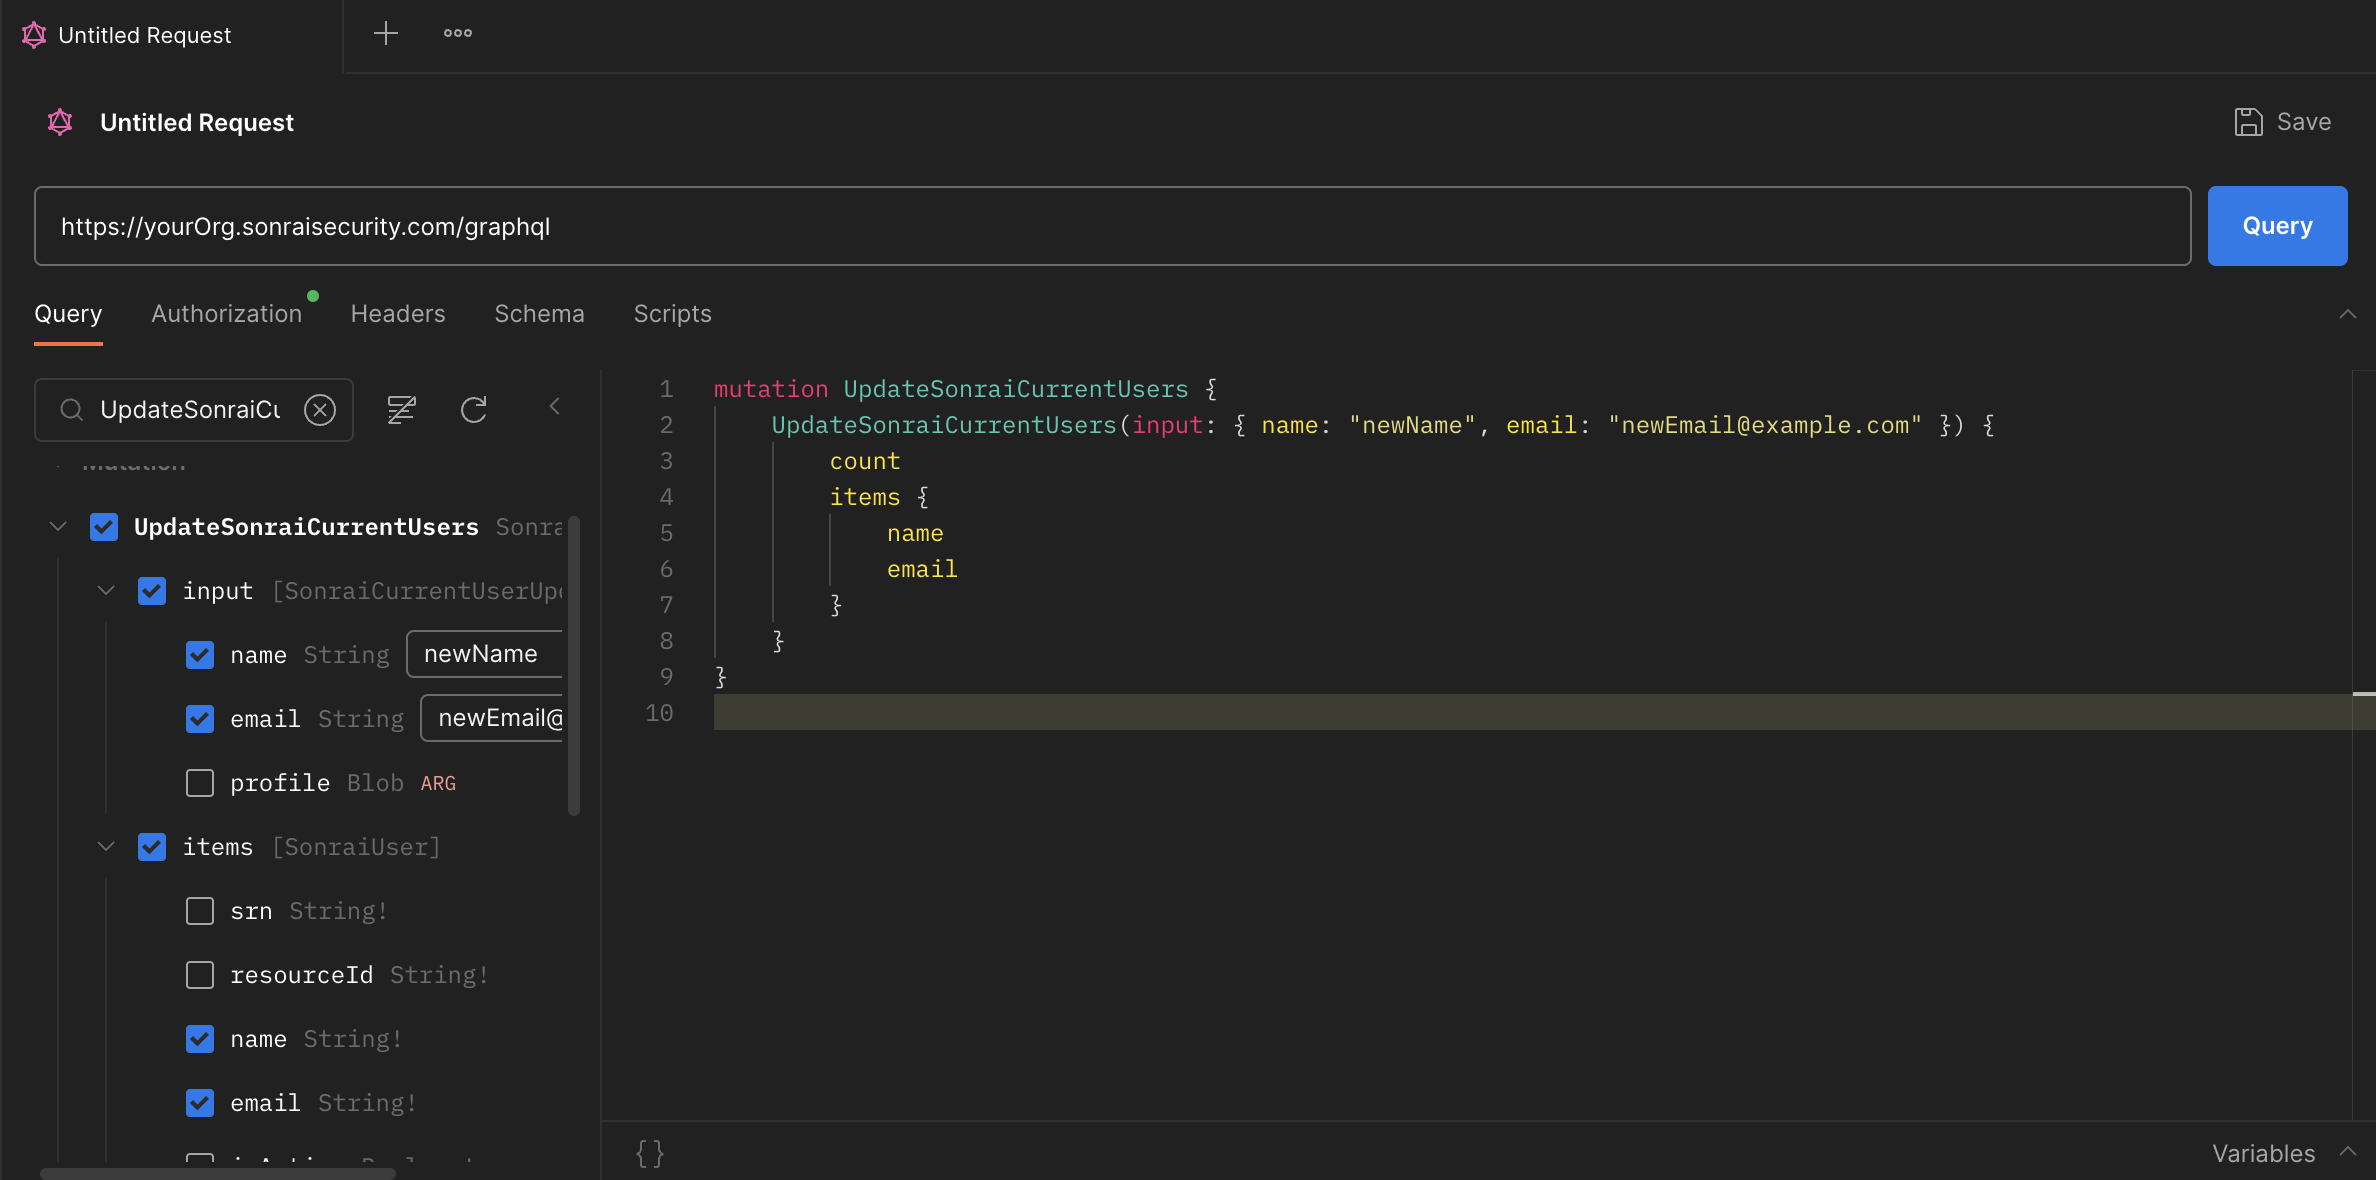
- Using whichever method you like, submit a POST request for a GraphQL mutation similar to the following example:
mutation UpdateSonraiCurrentUsers {
    UpdateSonraiCurrentUsers(input: { name: "newName" }) {
        count
        items {
            name
        }
    }
}
Disabling Users
For audit purposes, users are not deleted from the Cloud Permissions Firewall.
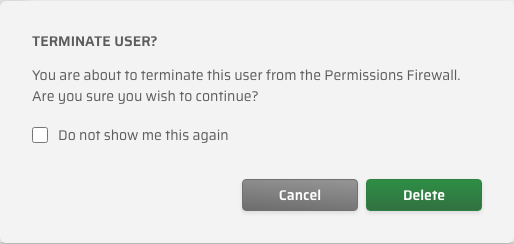
Instead, we recommend users are terminated and the privileges removed from the user account.
This ensures that the user cannot login, and if for some reason the account was re-activated, that the user has no active permissions.
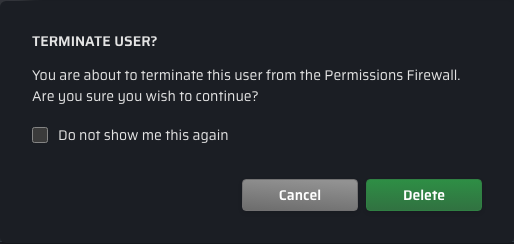
Select in the user's Edit User Roles dialog. A confirmation appears before the account is disabled.
Groups
Groups let you assign roles to multiple users at once instead of individually. A user's effective permissions are the union of any roles assigned directly to them and any roles assigned to groups they belong to. Groups are available whether or not your organization has SSO configured.
There are two kinds of groups in CPF: CPF-managed and IdP-synced.
| Group type | Created by | Membership source | When to use |
|---|---|---|---|
| CPF-managed | Admin in CPF | Manually added and removed in CPF | Internal-only roles, contractors, or users who are not represented in your IdP |
| IdP-synced | Created automatically on first login (or via SCIM) when CPF sees a new group in the groups claim | The user's IdP group memberships, refreshed each login | The common case — mirror your IdP groups so CPF permissions follow your existing IdP membership management |
The Groups tab
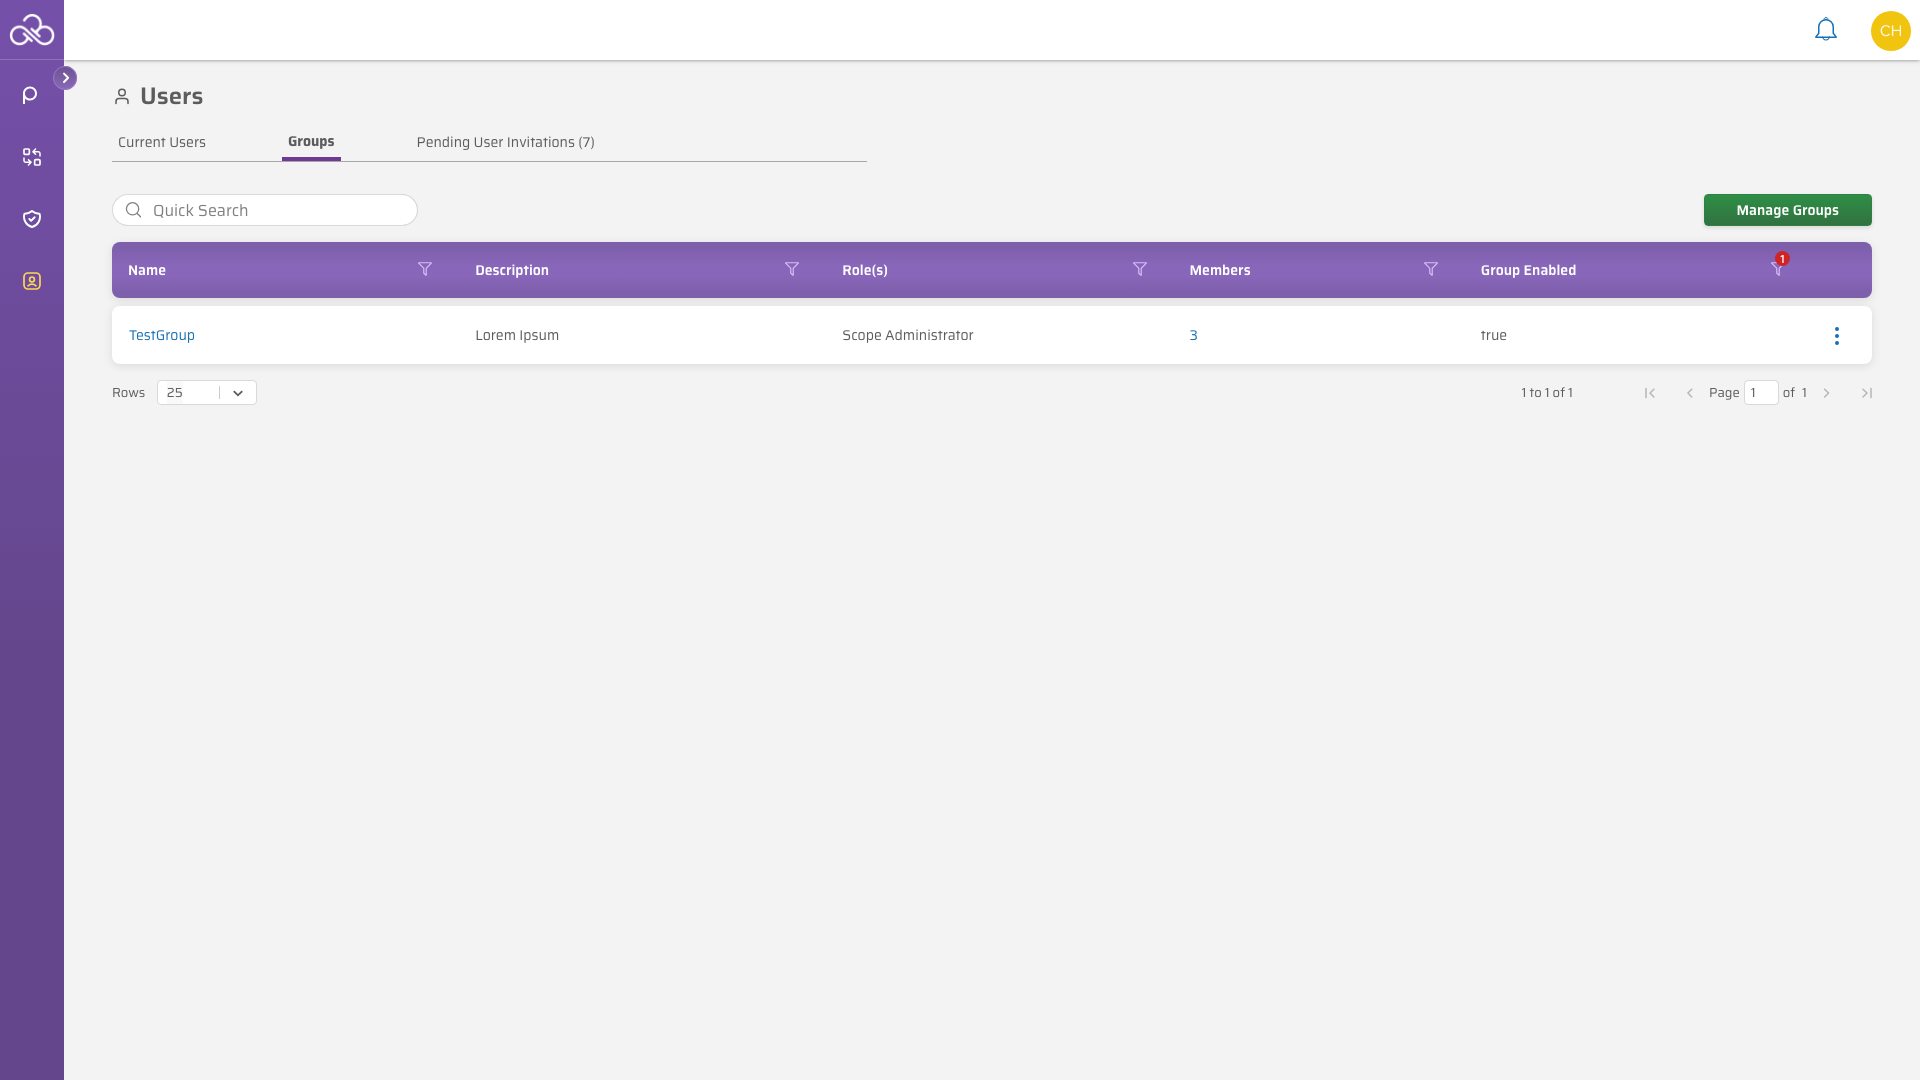
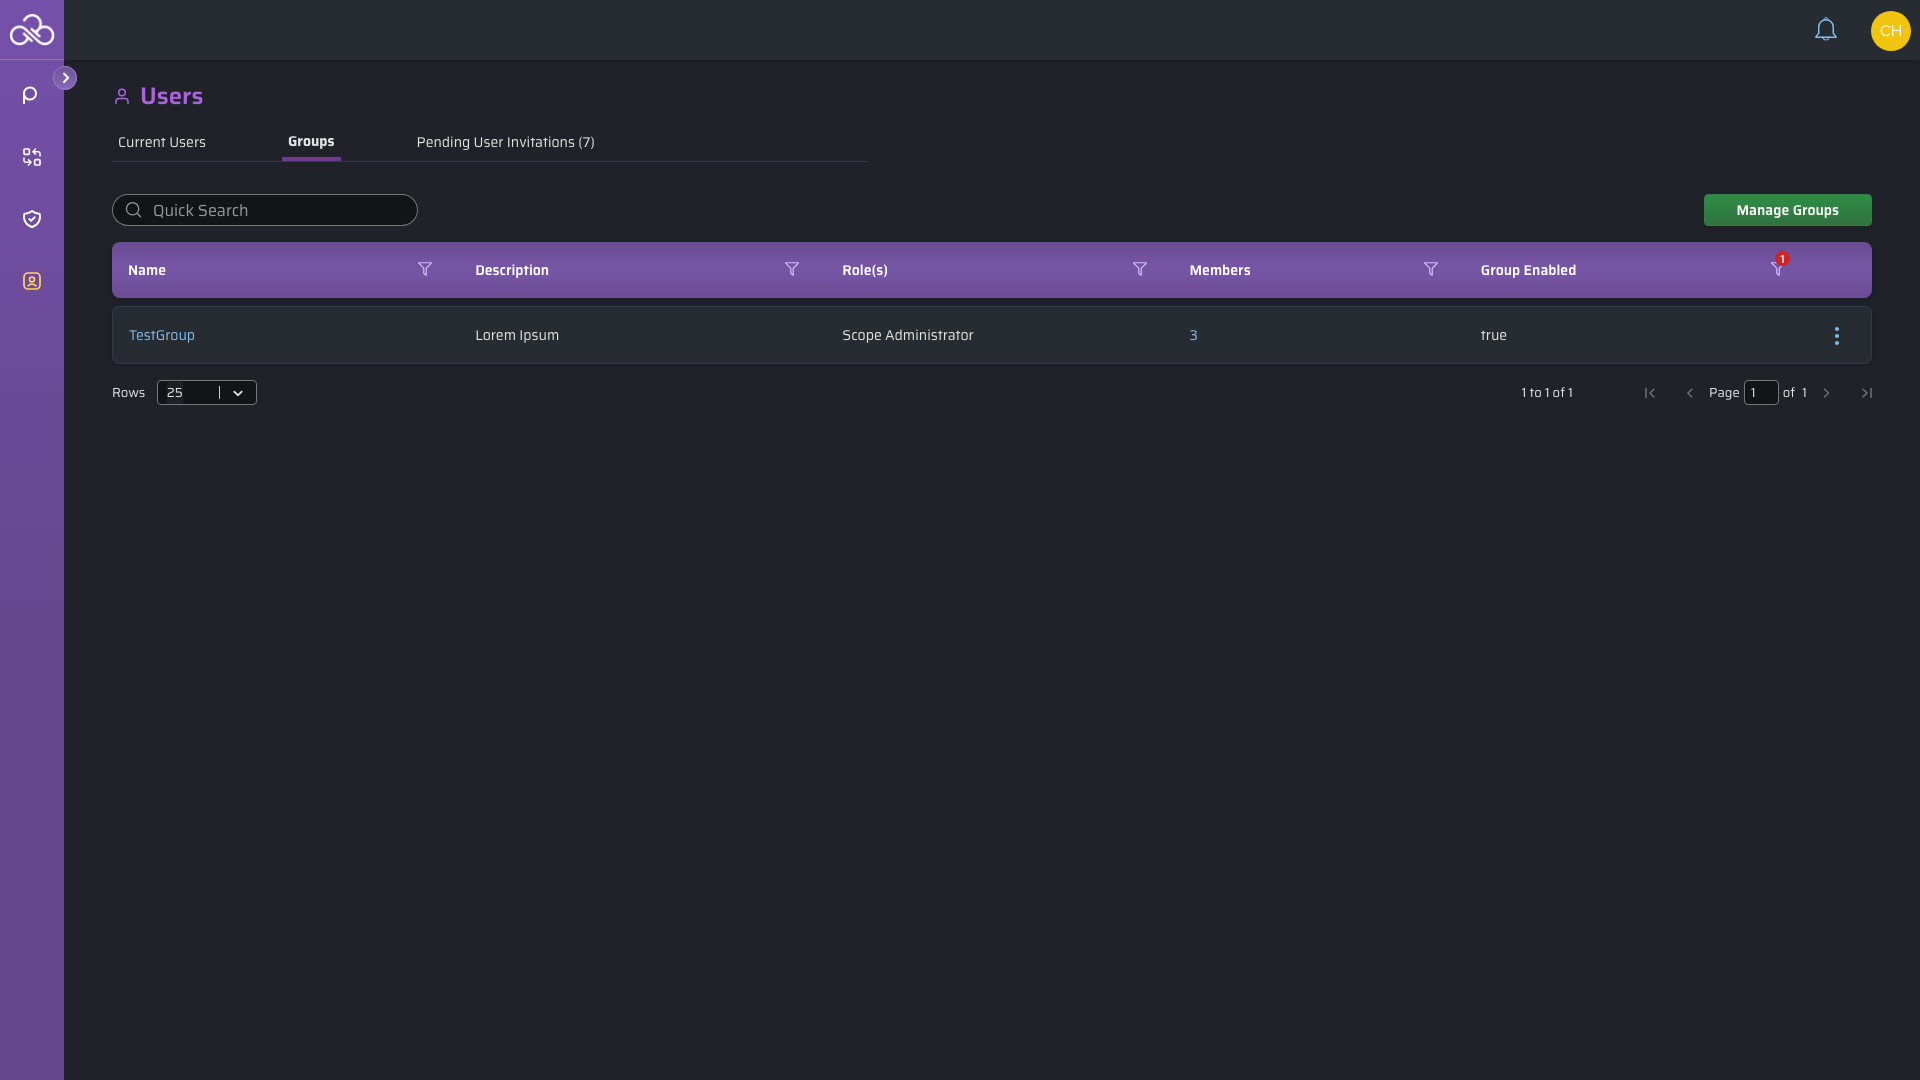
Groups are managed from the Groups tab on the Users screen, alongside Current Users and Pending User Invitations. The tab lists every group's name, description, assigned role(s), member count, and enabled state, and includes a quick search and a Show Terminated Groups toggle for viewing disabled groups.
Creating a group
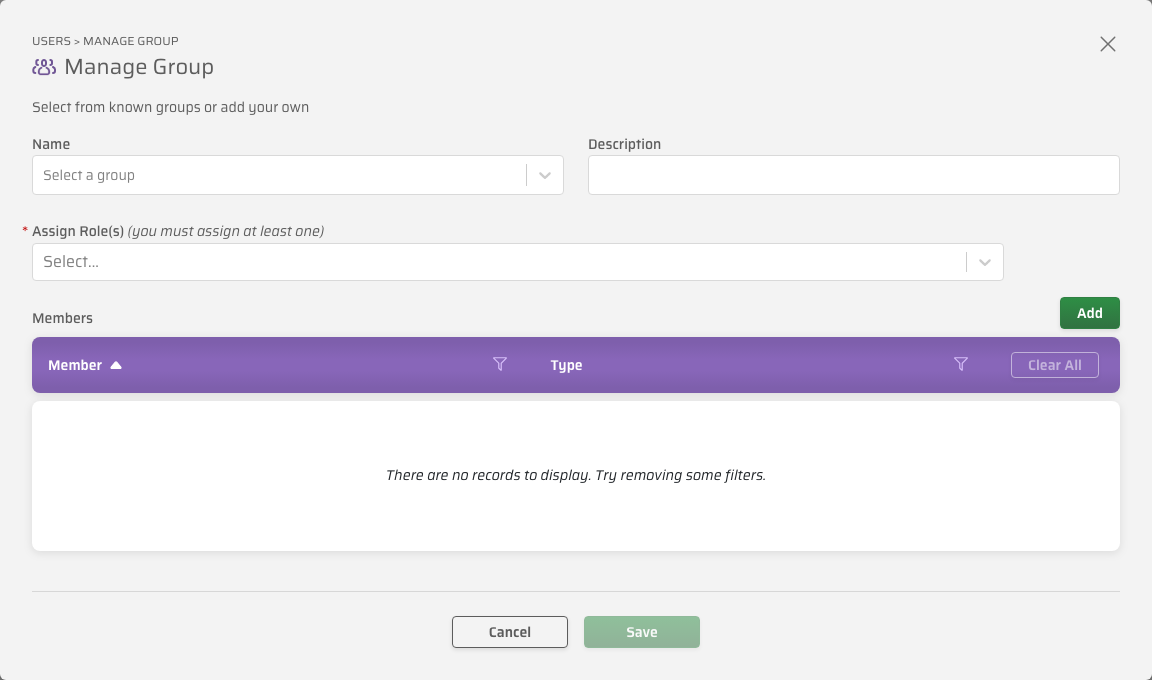
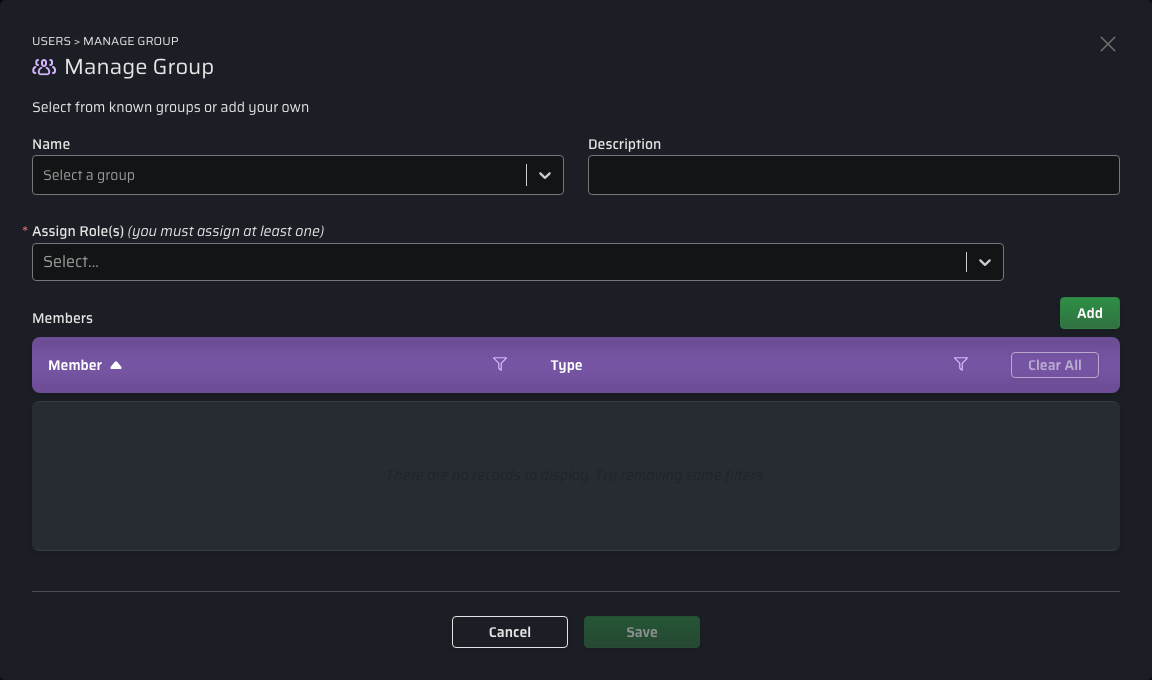
Select to open the Manage Group dialog:
- Name — select an existing group discovered from your IdP to map it into CPF as an IdP-synced group, or type a new name to create a CPF-managed group.
- Description — optional.
- Assign Role(s) — required; at least one role must be assigned.
- Members — select to open a searchable dropdown of users and add them to the group.
Select to create the group.
Editing a group
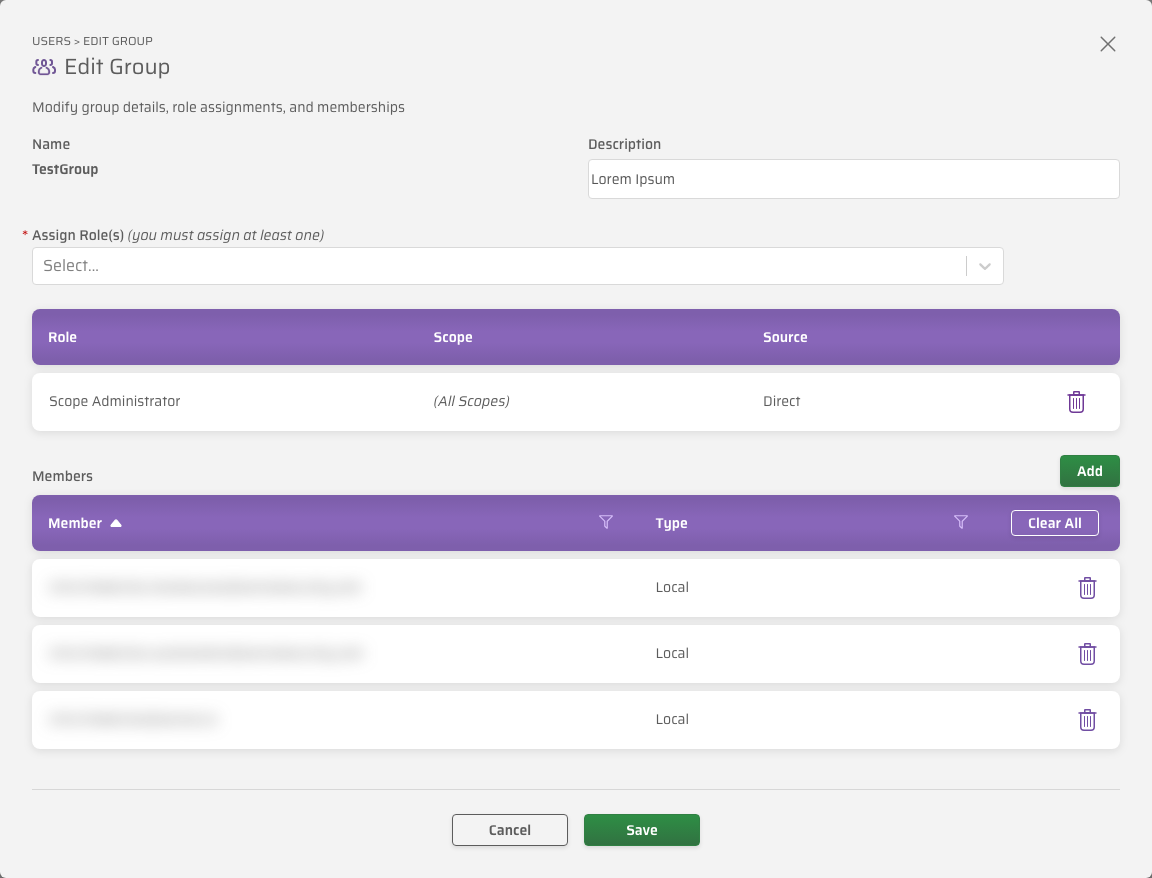
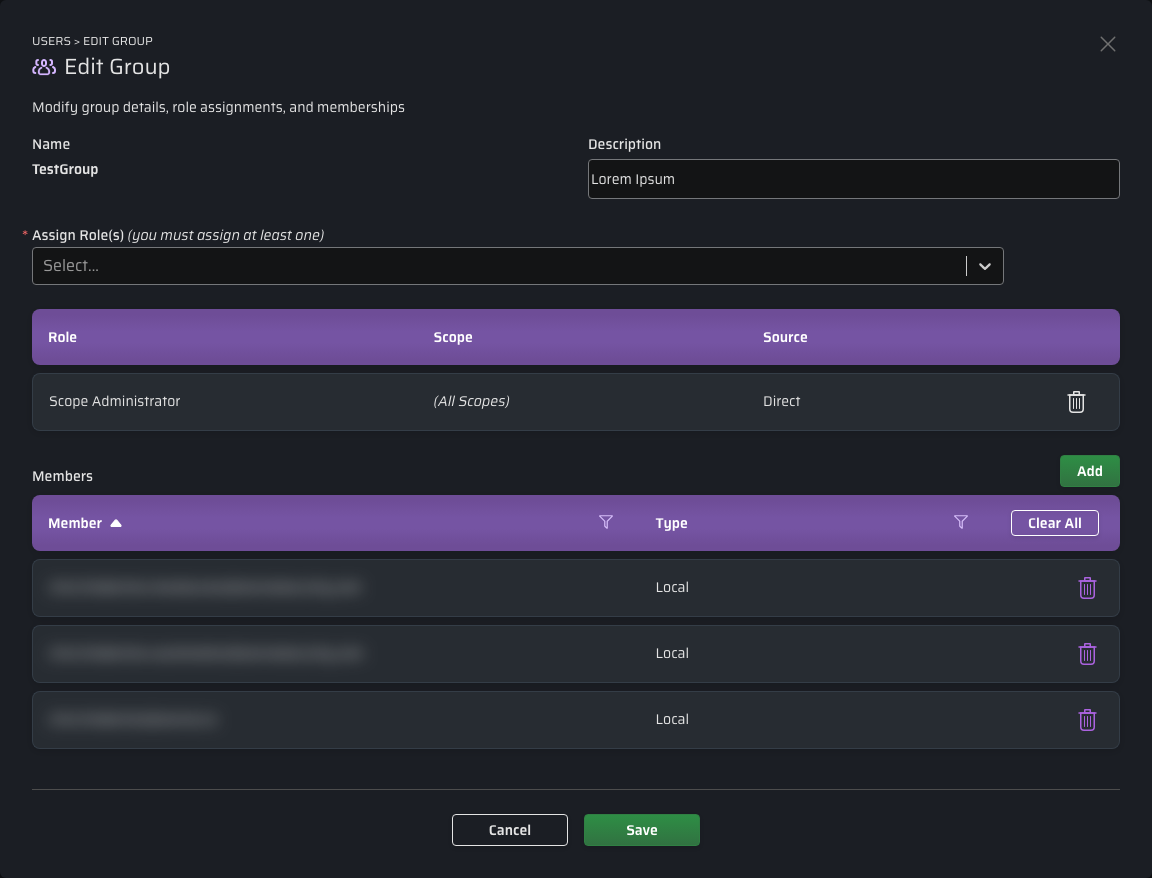
Select a group's name in the list (or Edit from its row's overflow menu) to open the Edit Group dialog. From here you can update the description, add or remove role assignments, and add or remove members.
The Members table's Type column shows how each member's group membership originated — Local for members added manually, and SSO for members discovered through your IdP.
Assigning roles to groups
Roles are assigned to groups in the same way they are assigned to users, including the scope each assignment applies to. All members of the group inherit the role assignments and their scopes. See User Roles and Personas for the list of available CPF roles.
Terminating a group
Select Terminate from a group's row overflow menu to disable it. Terminating a group does not delete it — enable Show Terminated Groups to view previously terminated groups.
For groups synchronized from an identity provider — including group name matching and SCIM-based provisioning — see Group Synchronization in the Single Sign-on (SSO) documentation.
Apps
App identities are non-person accounts for external integrations and programmatic access to the Sonrai API — for example, a CI/CD pipeline or a third-party service that calls the Sonrai GraphQL API directly. Unlike a person's user account, an App identity has no email invitation and cannot log in to the UI. It is active as soon as it's created, and you manage its access entirely through the access keys you generate for it.
The Apps tab
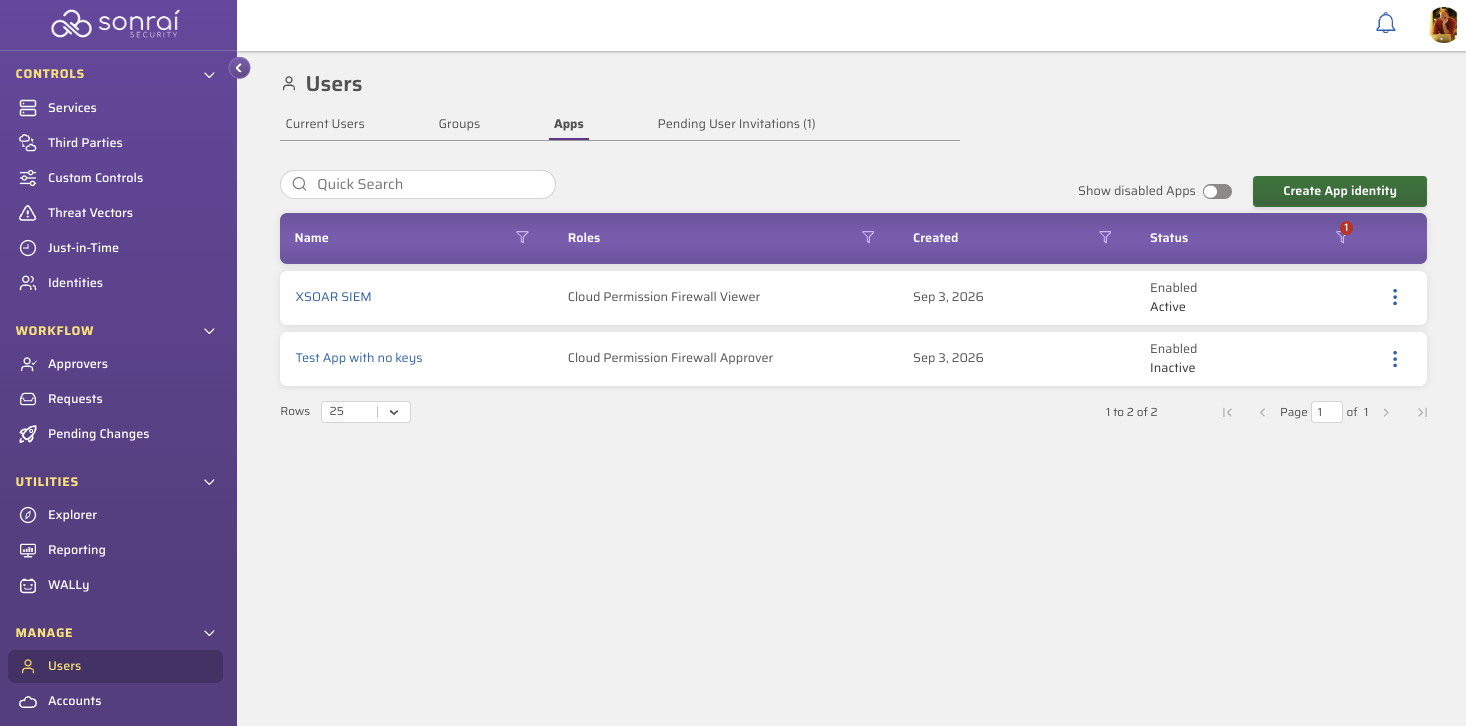
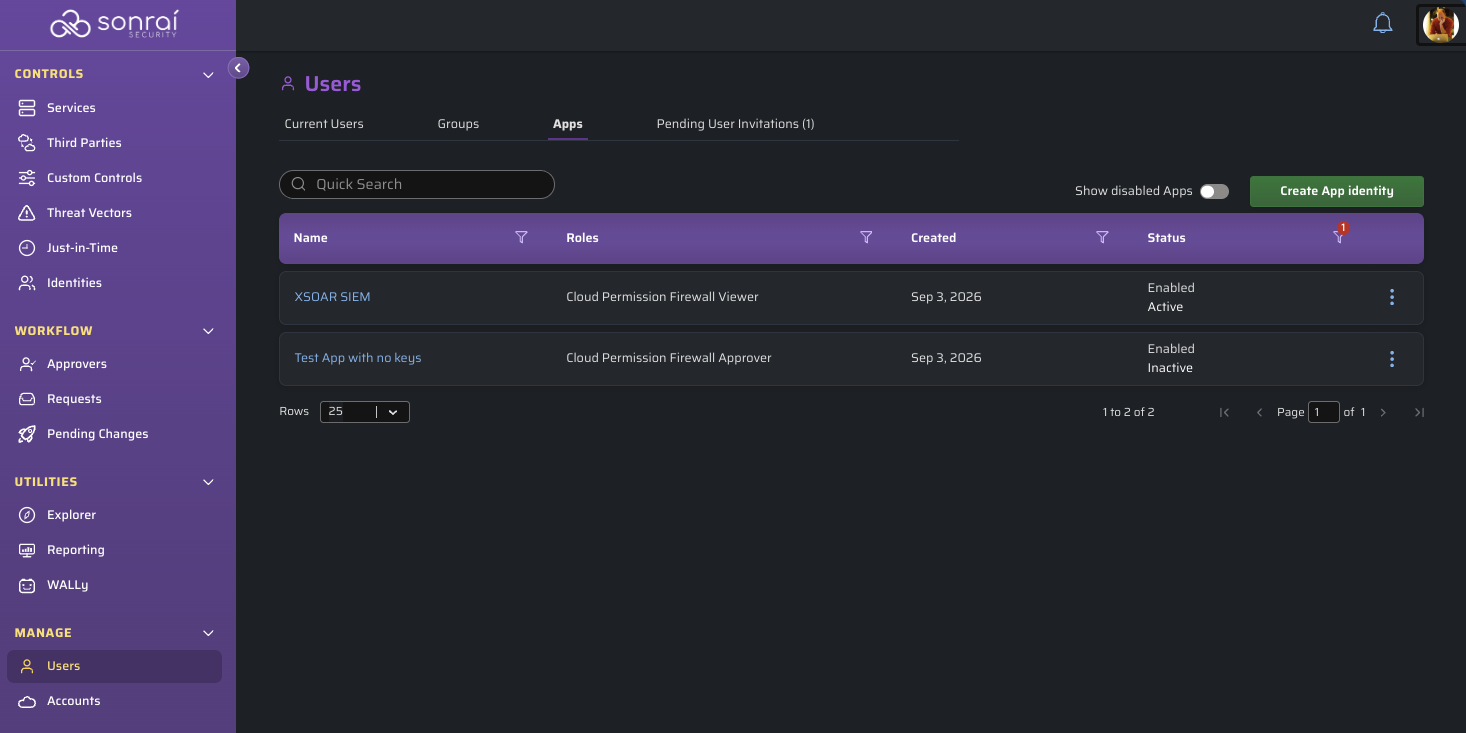
Apps are managed from the Apps tab on the Users screen, alongside Current Users, Groups, and Pending User Invitations. The tab lists each App's name, assigned role(s), creation date, and status, and includes a Show disabled Apps toggle for viewing disabled Apps, which are hidden by default.
The Status column shows two independent pieces of information:
- Enabled / Disabled — whether the App identity itself is enabled. A disabled App cannot authenticate at all, regardless of its keys.
- Active / Inactive — whether the App has at least one access key that hasn't expired. An App shows Inactive once every key attached to it has expired, even if the App itself is still Enabled.
Creating an App identity
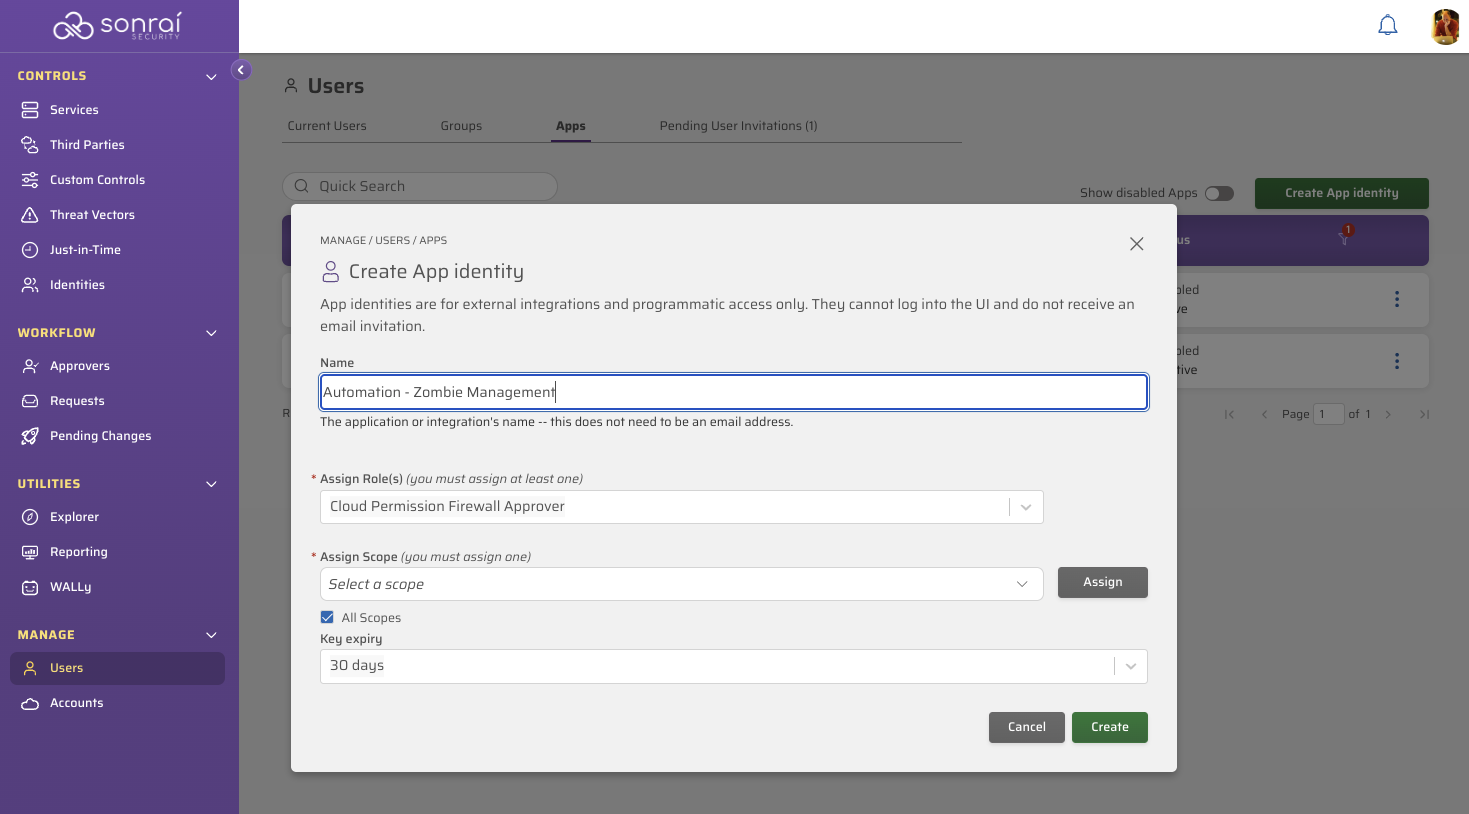
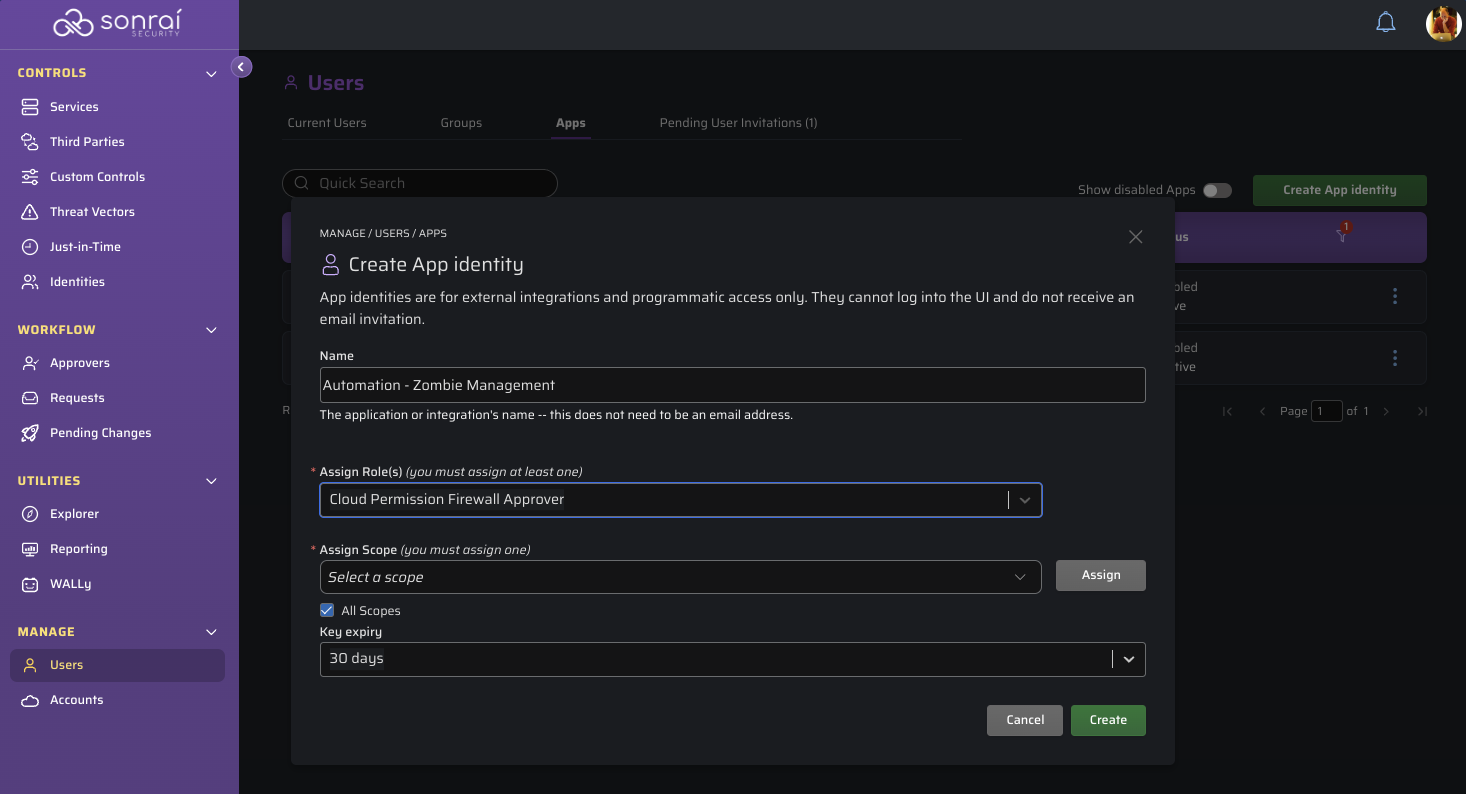
Select to open the Create App identity dialog:
- Name — required. The application or integration's name; this does not need to be an email address, and must be unique among existing App identities.
- Assign Role(s) — required; at least one role must be assigned, the same way roles are assigned to a user. See Role Assignment Scope.
- Key expiry — how long the App's initial access key is valid for: 1, 7, 14, or 30 days. Access keys for App identities cannot be created with a longer expiry than 30 days.
Select to create the App identity and generate its first access key.
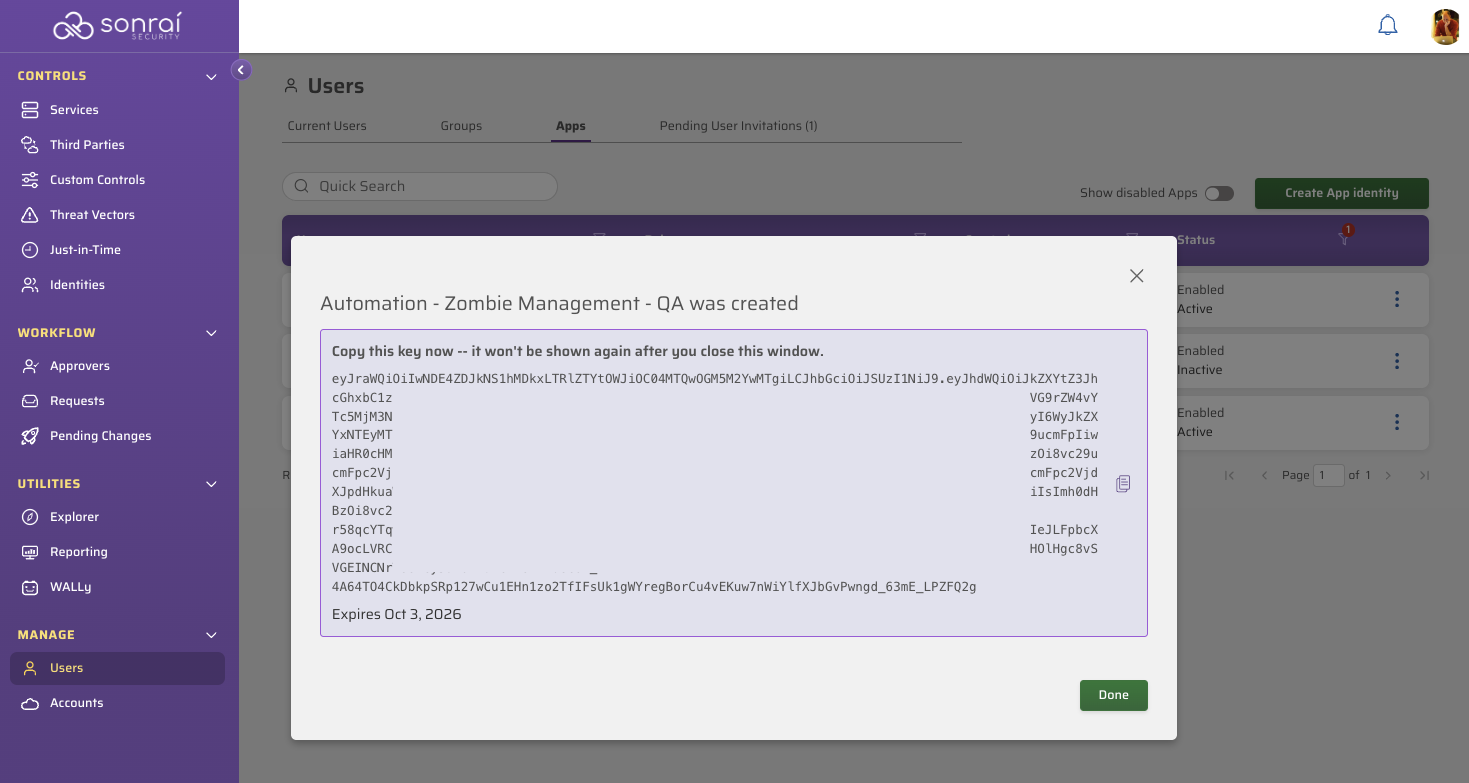
An access key's value is shown only once, immediately after it's generated. Copy it before closing the window — CPF never displays a key's value again.
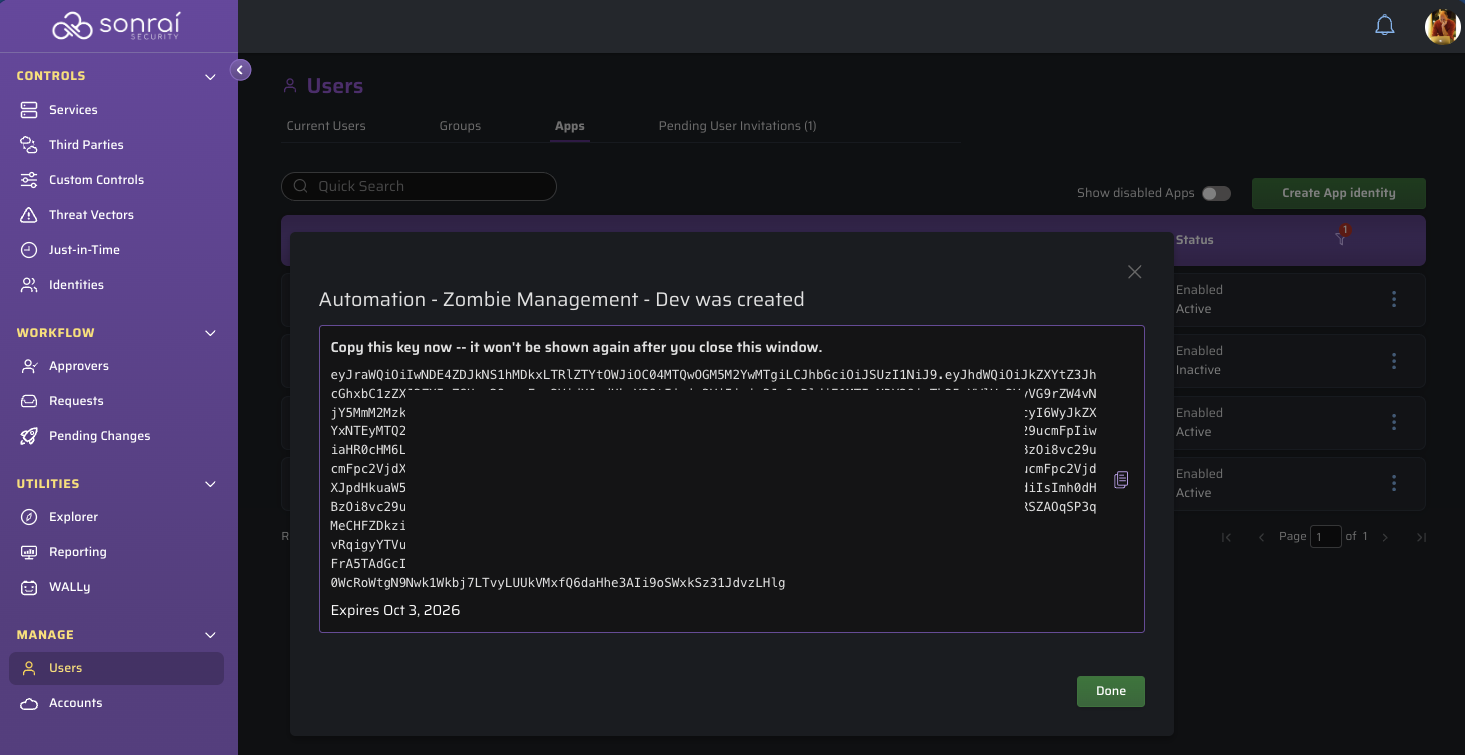
Managing an App's access keys
Select an App's name in the list to open its edit view. The Access keys section lists every key generated for the App, showing each key's name, status (Active / Expired), creation date, and expiry date. As with the initial key, an existing key's value is never shown again after it's created — only a key generated in the current session displays its value.
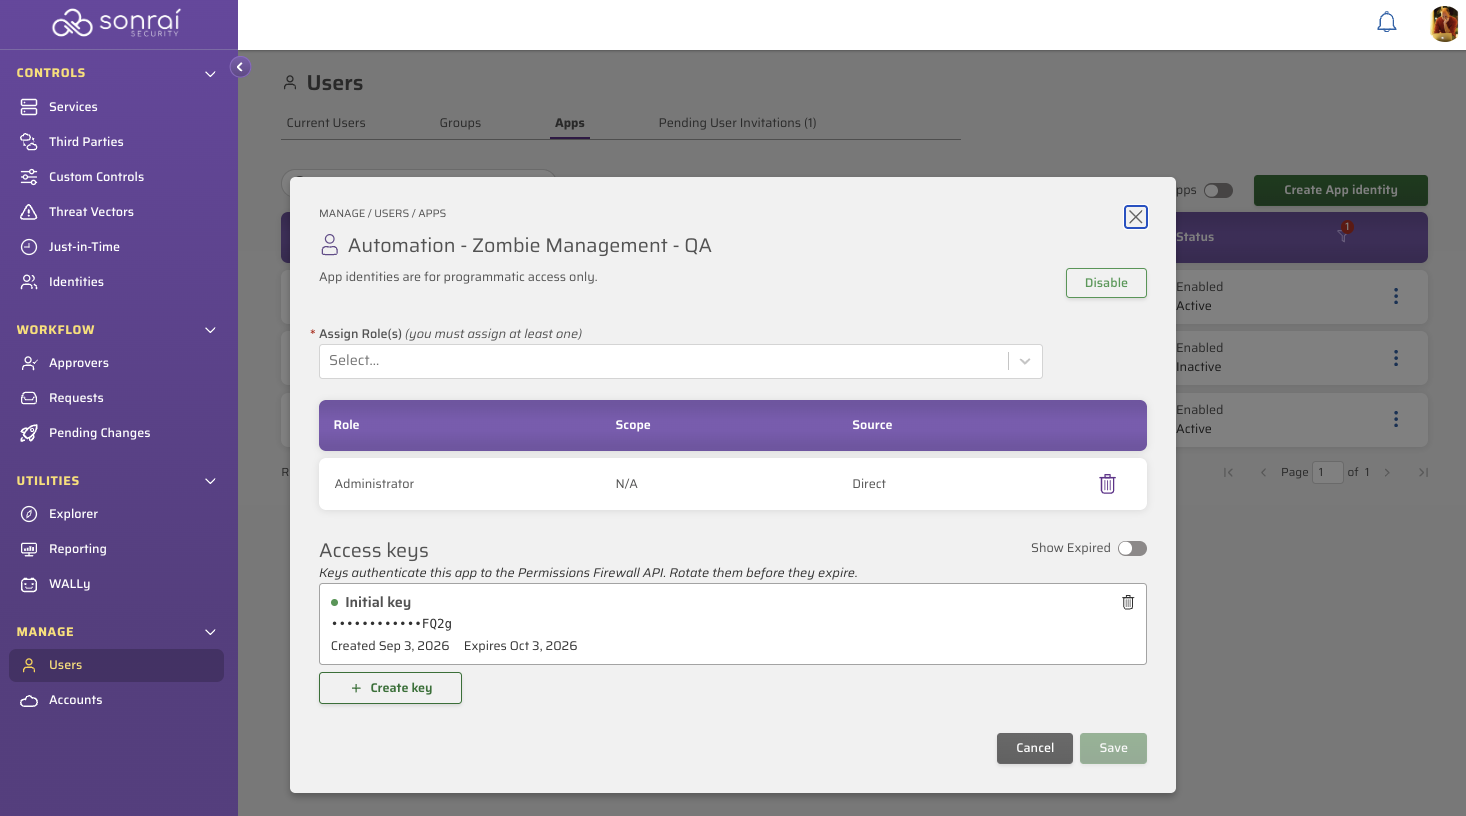
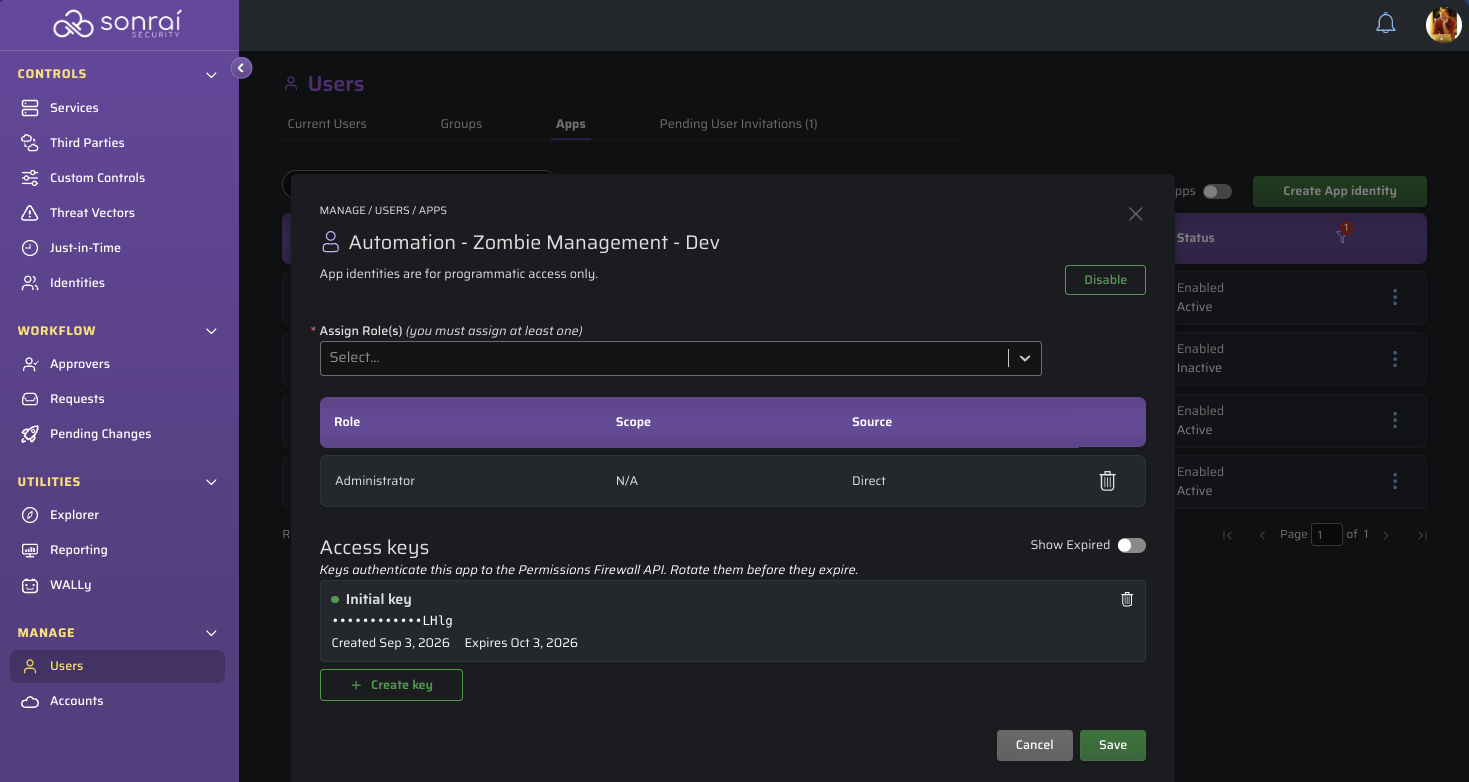
To generate an additional key, select , choose a Key expiry (1, 7, 14, or 30 days), then select . The new key's value is shown once — copy it before continuing.
To remove a key, select its delete icon and confirm .
Deleting an access key cannot be undone. Anything still using that key loses access immediately.
Assigning roles to an App
Roles are assigned to an App identity the same way they are assigned to a user, including the scope each assignment applies to. See User Roles and Personas for the list of available CPF roles.
Disabling and enabling an App identity
Select from an App's row overflow menu, or from within its edit view, to disable it. Disabling an App identity immediately blocks authentication for all of its access keys — anything still using them loses access right away.
Disabled Apps are hidden from the Apps tab by default; enable Show disabled Apps to view them. Select to re-enable a disabled App identity — authentication resumes for any keys that haven't expired or been deleted.